# Home Lab: Part 6
For the Active Directory (AD) Lab we are going to configure three VMs. The first VM will be the Domain Controller (DC) of the environment. We will use Windows Server 2019 for this machine. The other two VMs will be the clients that use this environment. For the client VMs, we will use Windows 10 Enterprise.
Microsoft provided Evaluation copies for both of them. Windows Server 2019 has a license of 180 days while Windows 10 Enterprise has a license of 90 days. They should function just fine even after the evaluation period expires. After setting up the lab we will create snapshots for the VMs. The snapshots can also be used to roll back to the start of the evaluation period once it expires.
> We can create an Active Directory Lab using a single client as well but there are certain AD attacks that require two clients to perform. Depending on your use case you may skip the setup of the second 2nd client.
### Downloading Windows ISO Files
#### Windows Server 2019
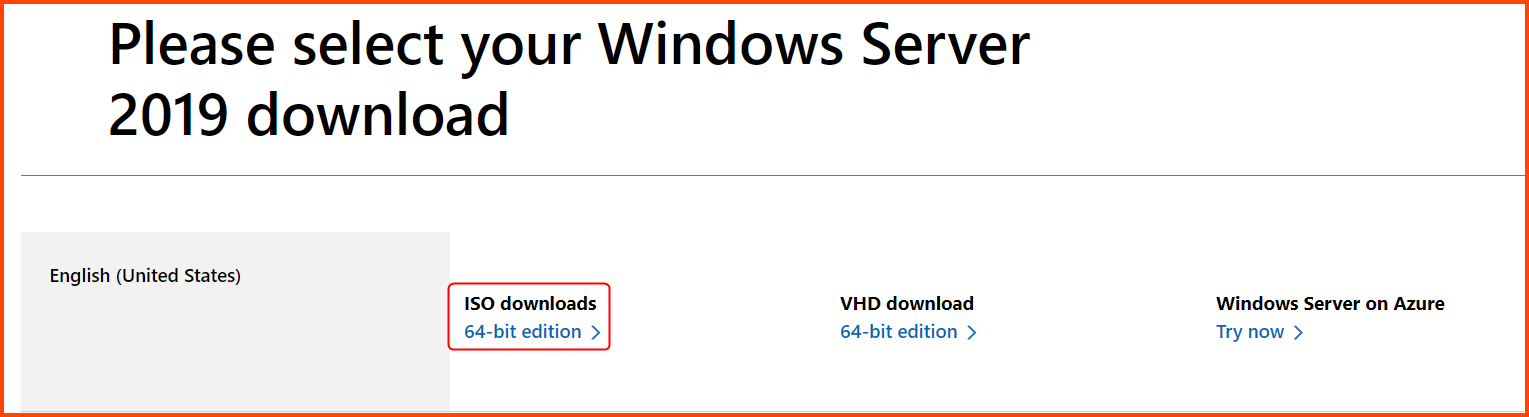
Go to the following URL: [Windows Server 2019 | Microsoft Evaluation Center](https://www.microsoft.com/en-us/evalcenter/download-windows-server-2019)
Click on the **`64-bit edition`** download. The ISO file is \~5GB.
#### Windows 10 Enterprise
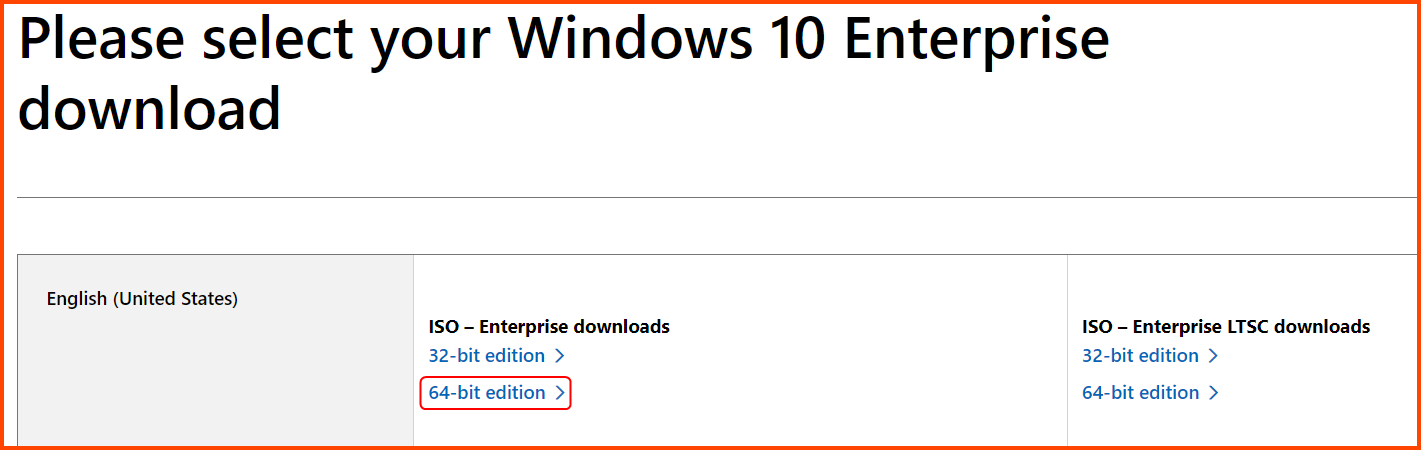
Go to the following URL: [Windows 10 Enterprise | Microsoft Evaluation Center](https://www.microsoft.com/en-us/evalcenter/download-windows-10-enterprise)
Click on the **`64-bit edition`** Enterprise ISO download option. The ISO file is \~5GB.
#### ISO File Names
Pay attention to the names of the downloaded files. Microsoft uses the OS build number as the filename. You can rename the files to avoid confusion.
| ISO Name | OS Name |
| ------------------------------------------------------------------------------------------ | ----------------------- |
| `17763.3650.221105-1748.rs5_release_svc_refresh_SERVER_EVAL_x64FRE_en-us` | `Windows Server 2019` |
| `19045.2006.220908-0225.22h2_release_svc_refresh_CLIENTENTERPRISEEVAL_OEMRET_x64FRE_en-us` | `Windows 10 Enterprise` |
> The build number maybe different when you download the images. These are the latest versions that are available as for writing of this module (Dec, 2023).
### Creating the VMs
#### Windows Server 2019
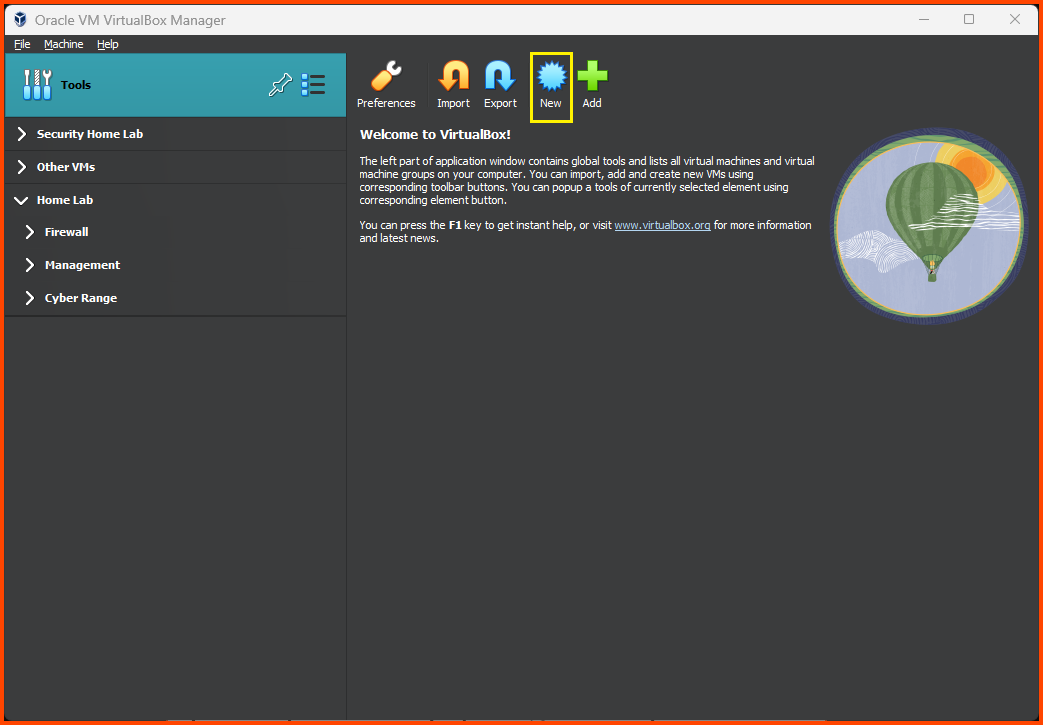
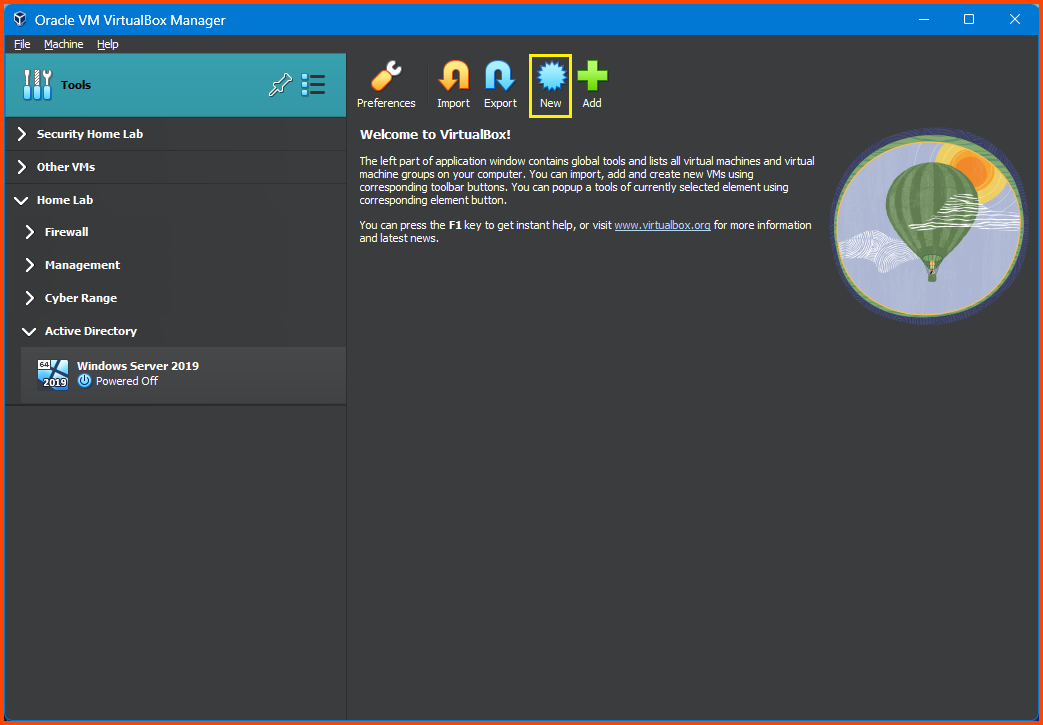
Click on Tools from the VirtualBox sidebar and select **`New`**.
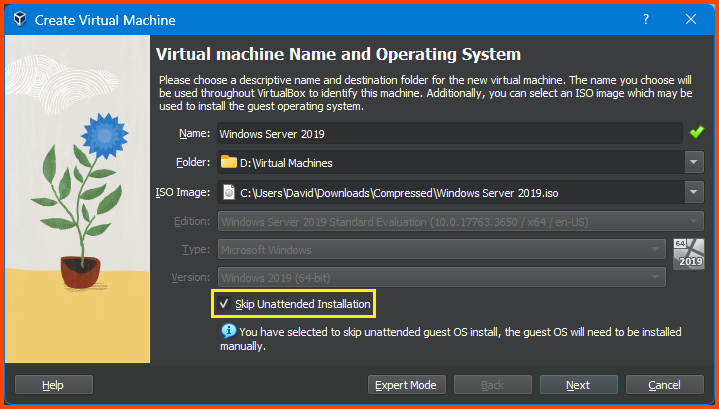
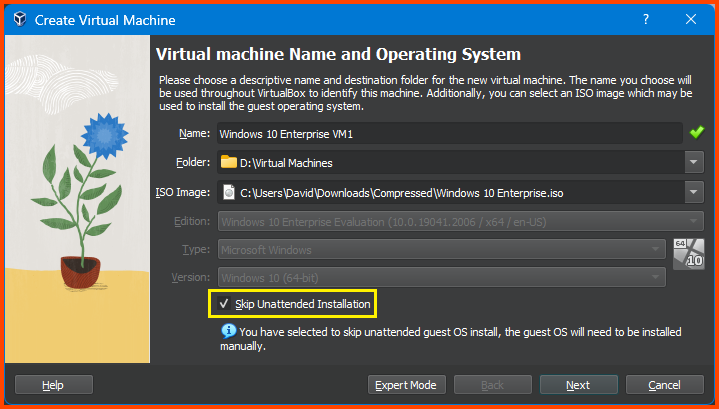
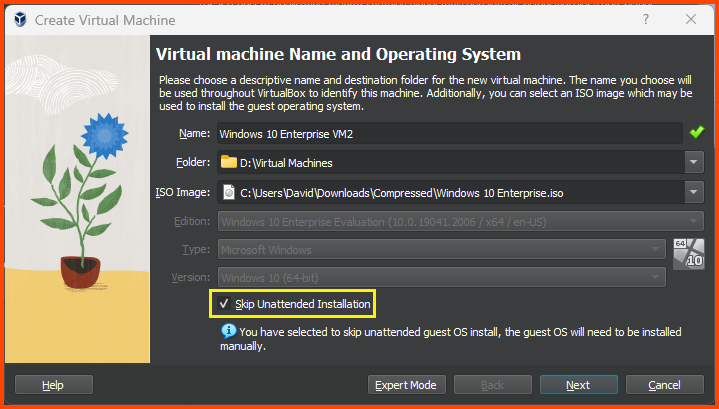
Gave the VM a name. Ensure that the Folder option points to the location where all the Home Lab-related VMs are saved. For the ISO Image select the downloaded Windows Server 2019 image. Select the **`Skip Unattended Installation`** option and then click on **`Next`**.
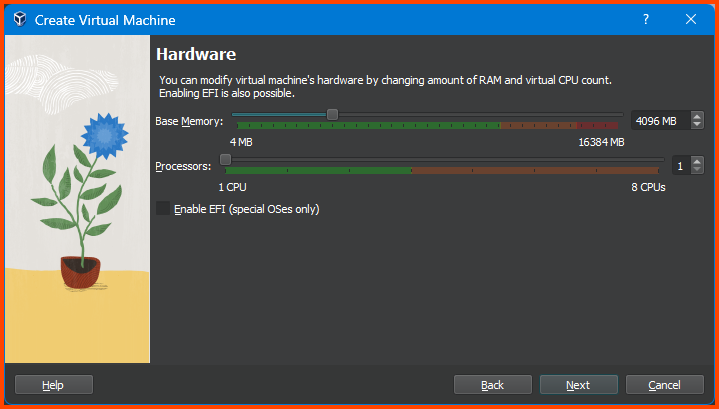
Increase the Memory to **`4096MB`** (4GB) and click on **`Next`**.
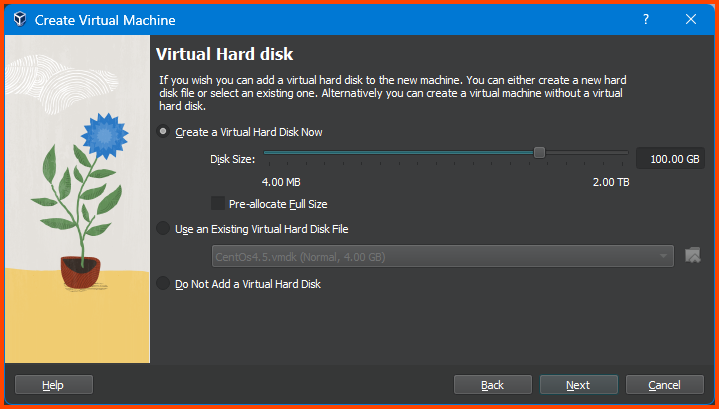
Increase the Hard Drive size to **`100GB`** and then click on **`Next`**.
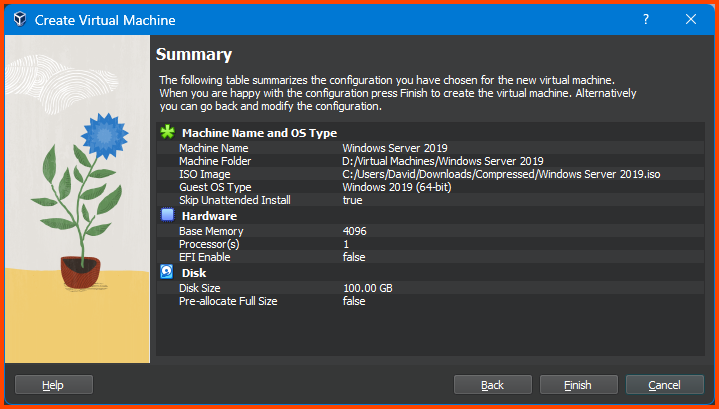
Confirm that all the values look correct and then click on **`Finish`**.
**Adding VM to Group**
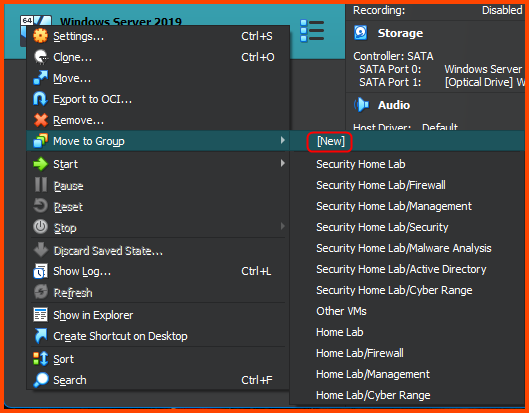
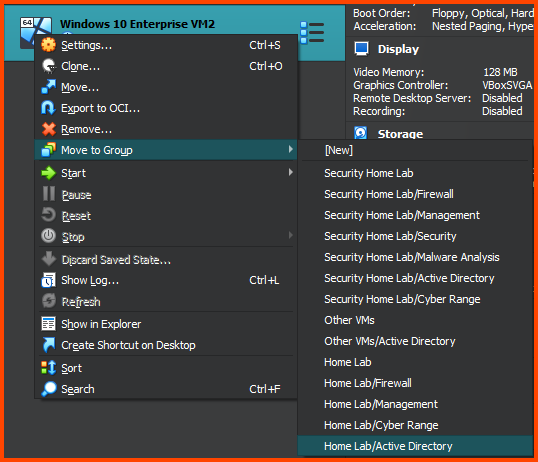
Right-click on the Windows Server 2019 VM and choose **`Move to Group -> [New]`**.
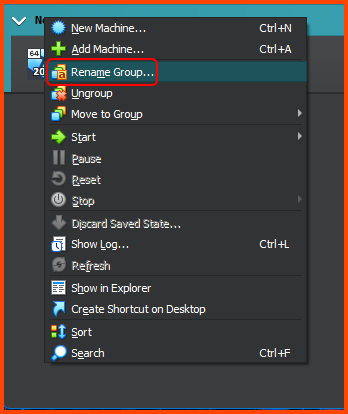
Right-click on the group name and select **`Rename Group`**. Name the group **`Active Directory`**.
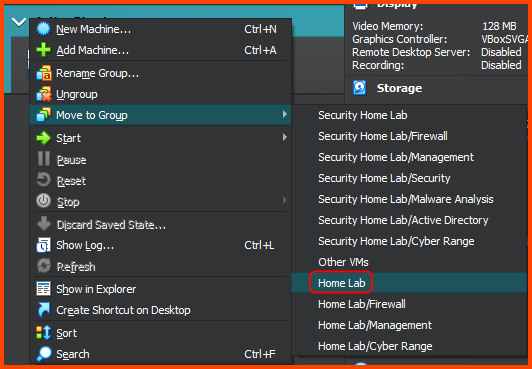
Right-click on the group name (Active Directory) and choose **`Move to Group -> Home Lab`**.
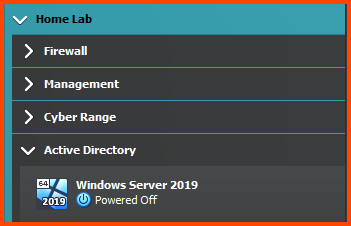
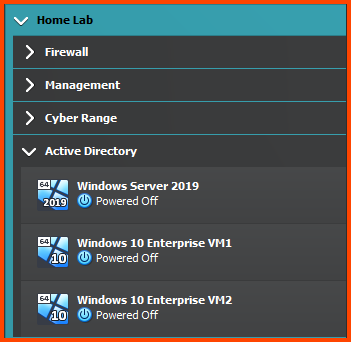
The final output should look as follows:
#### Windows 10 Enterprise VM1
From the VirtualBox sidebar select Tools and then click on **`New`**.
Give the VM a name. Ensure that the Folder option is pointing to the location where all the Home Lab VMs are saved. For the ISO Image option select the Windows 10 Enterprise image. Tick the **`Skip Unattended Installation`** option. Click on **`Next`** to continue.
Leave Memory and CPU on its default value. Click on **`Next`**.
Increase the Hard Disk size to **`100GB`** and then click on **`Next`**.
Verify that all the options are correct and then click on **`Finish`**.
**Adding VM to Group**
Right-click on the VM and then choose **`Move to Group -> Home Lab/Active Directory`**.
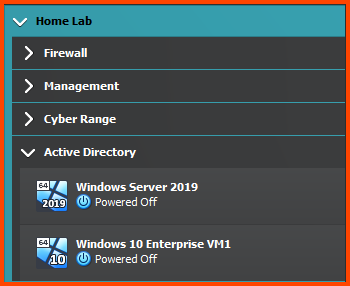
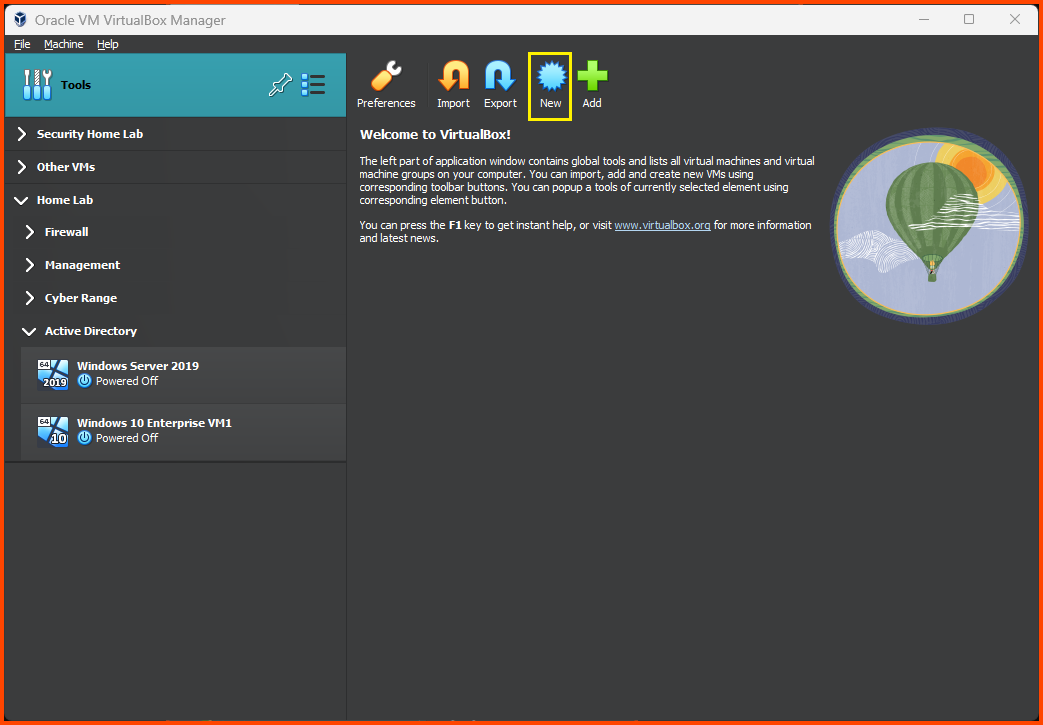
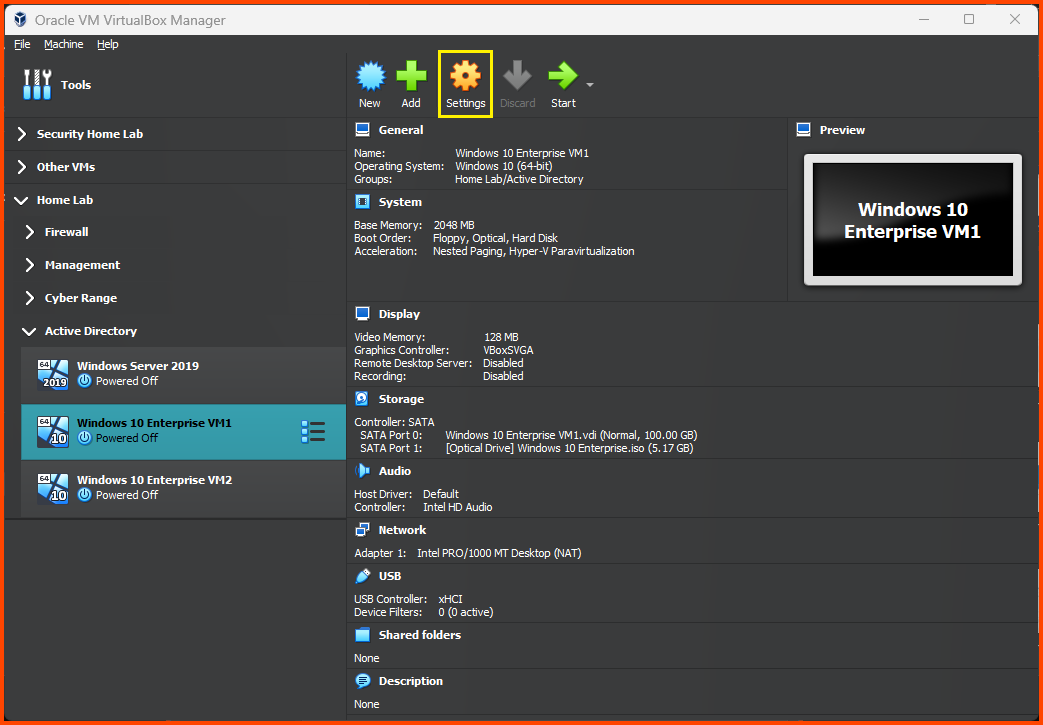
The final result should match the following:
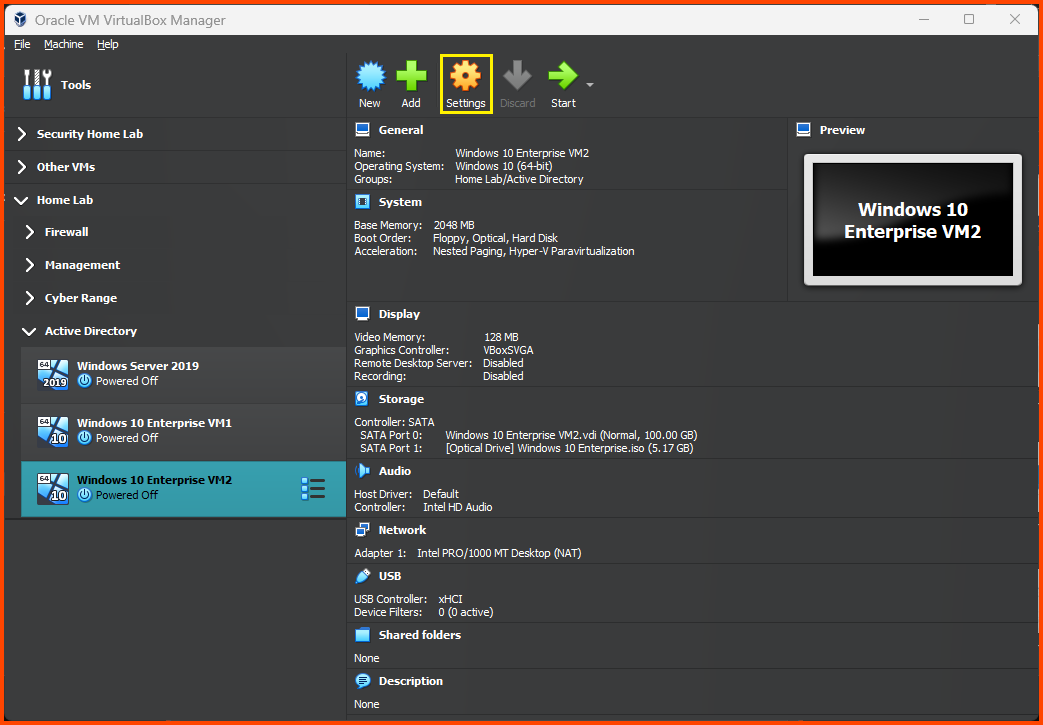
#### Windows 10 Enterprise VM2
Follow the same steps as above to create the VM for the second AD user.
**Adding VM to Group**
### Configuring the VMs
#### Windows Server 2019
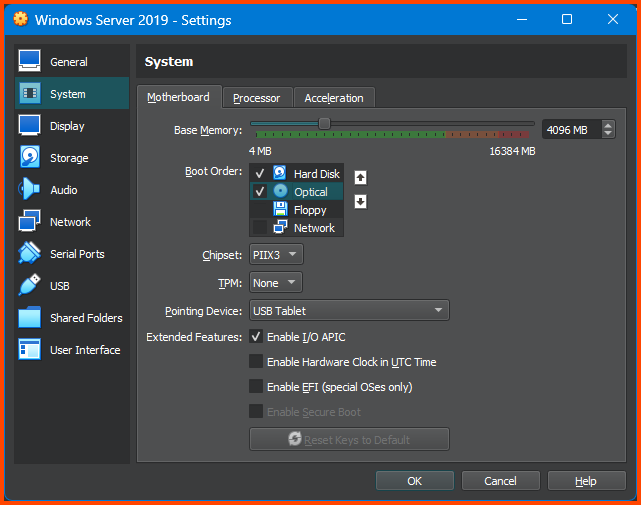
Select the Windows Server 2019 VM and click on **`Settings`** from the toolbar.
Go to **`System -> Motherboard`**. For Boot Order ensure **`Hard Disk`** is not the top followed by **`Optical`**. Disable **`Floppy`**.
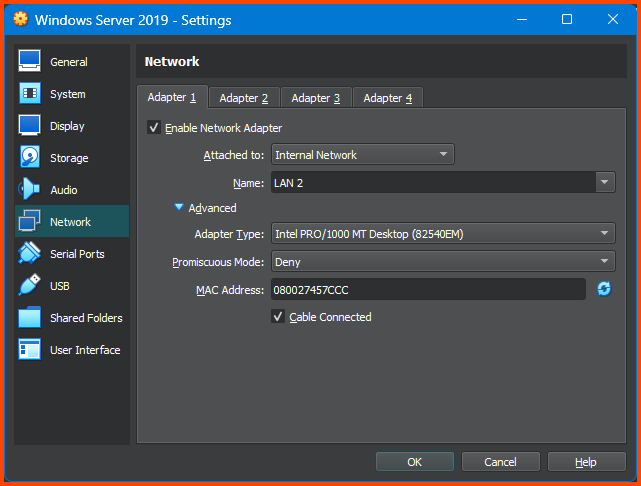
Go to **`Network -> Adapter 1`**. For the Attacked to field select **`Internal Network`**. For name select **`LAN 2`**. Click on **`OK`** to save the settings.
#### Windows 10 Enterprise VM1
Select Windows 10 Enterprise VM1 from the sidebar and then from the toolbar choose **`Settings`**.
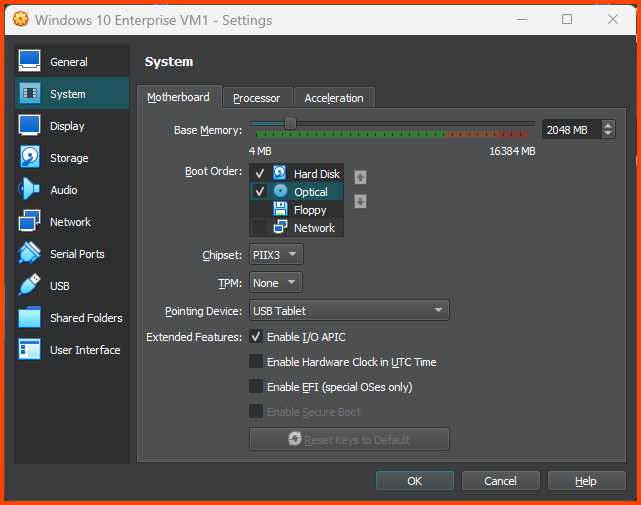
Go to **`System -> Motherboard`**. For Boot Order ensure **`Hard Disk`** is on the top followed by **`Optical`**. Disable **`Floppy`**.
Go to **`Network -> Adapter 1`**. For the Attacked to field select **`Internal Network`**. For name select **`LAN 2`**. Click on **`OK`** to save the settings.
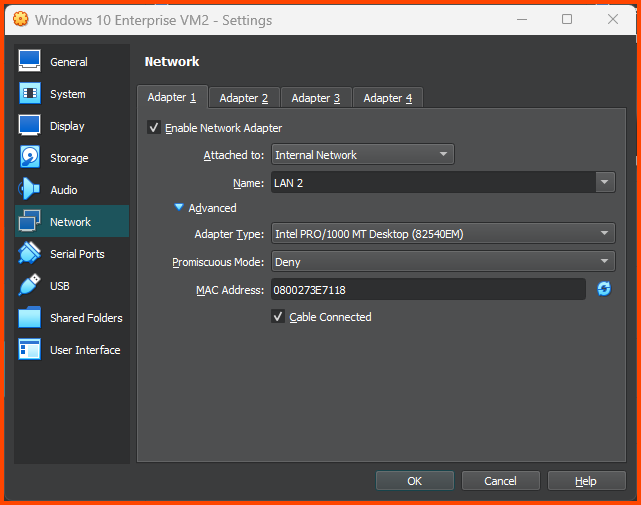
#### Windows 10 Enterprise VM2
Follow the same steps as above to change the settings for the AD User 2 VM.
### Windows Server 2019 Setup
#### OS Installation
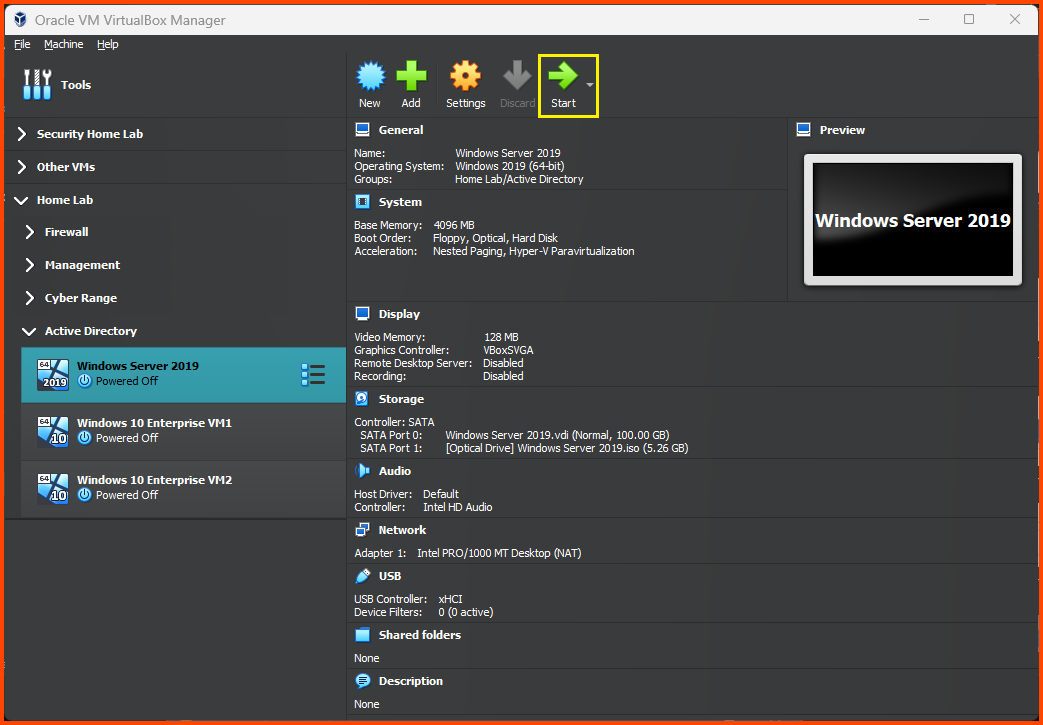
Select Windows Server 2019 from the sidebar and click on **`Start`** from the toolbar.
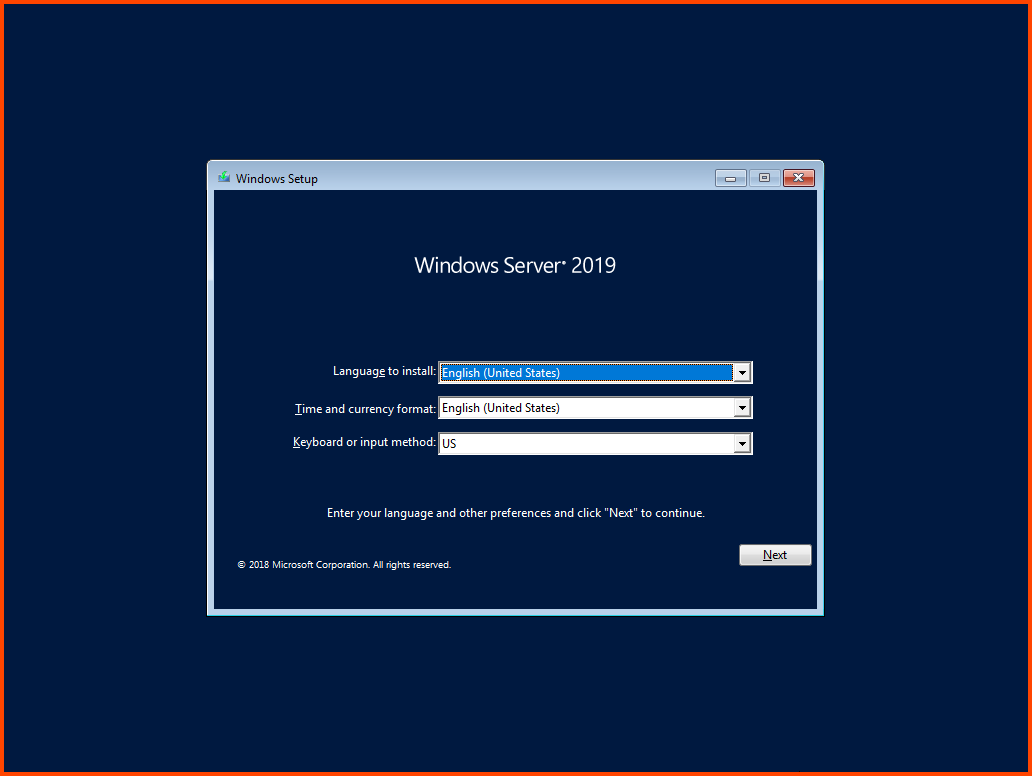
Click on **`Next`**.
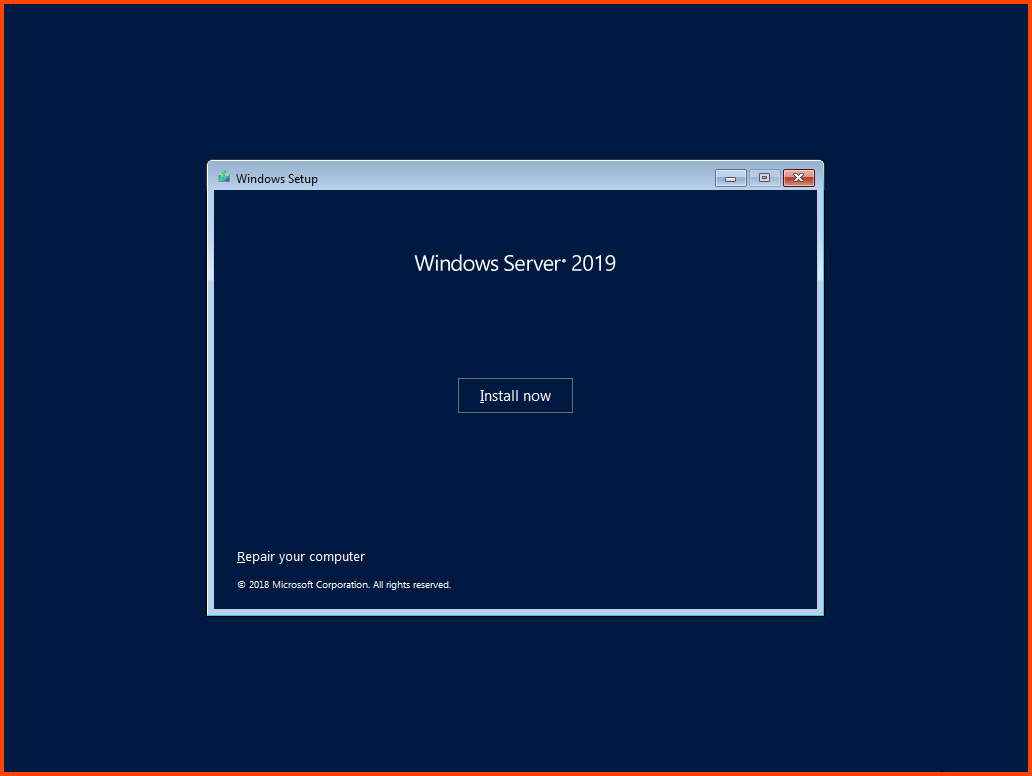
Click on **`Install now`**.
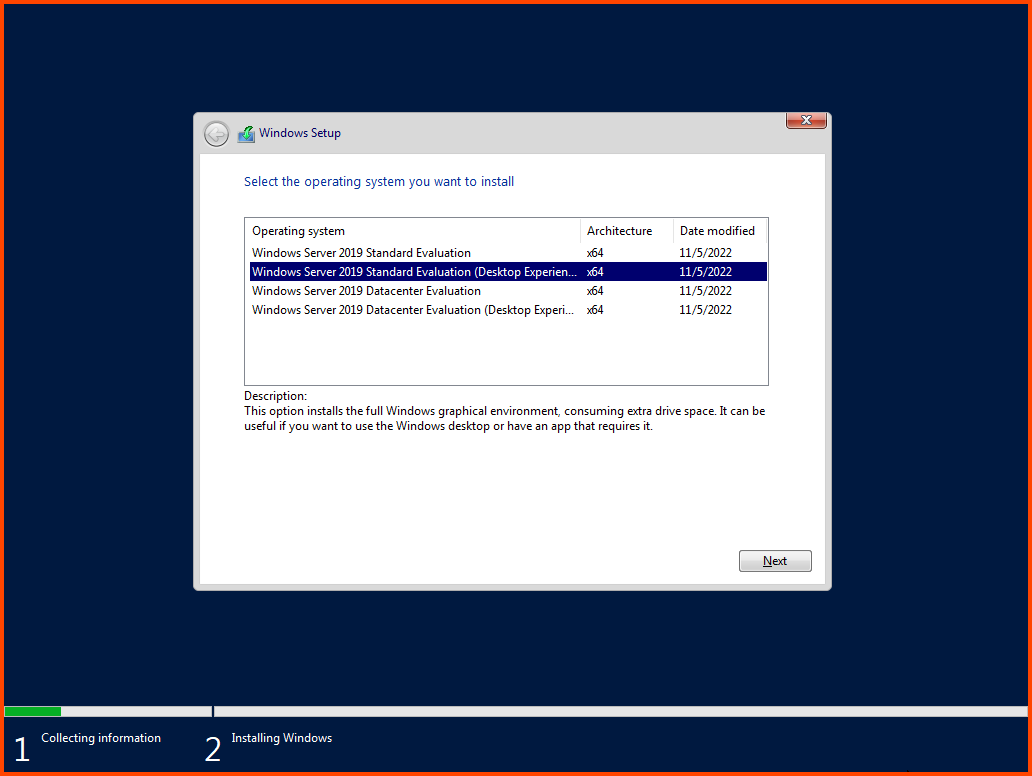
Select **`Windows Server 2019 Standalone Evaluation (Desktop Experience)`** and click on **`Next`**.
Accept the agreement and click on **`Next`**.
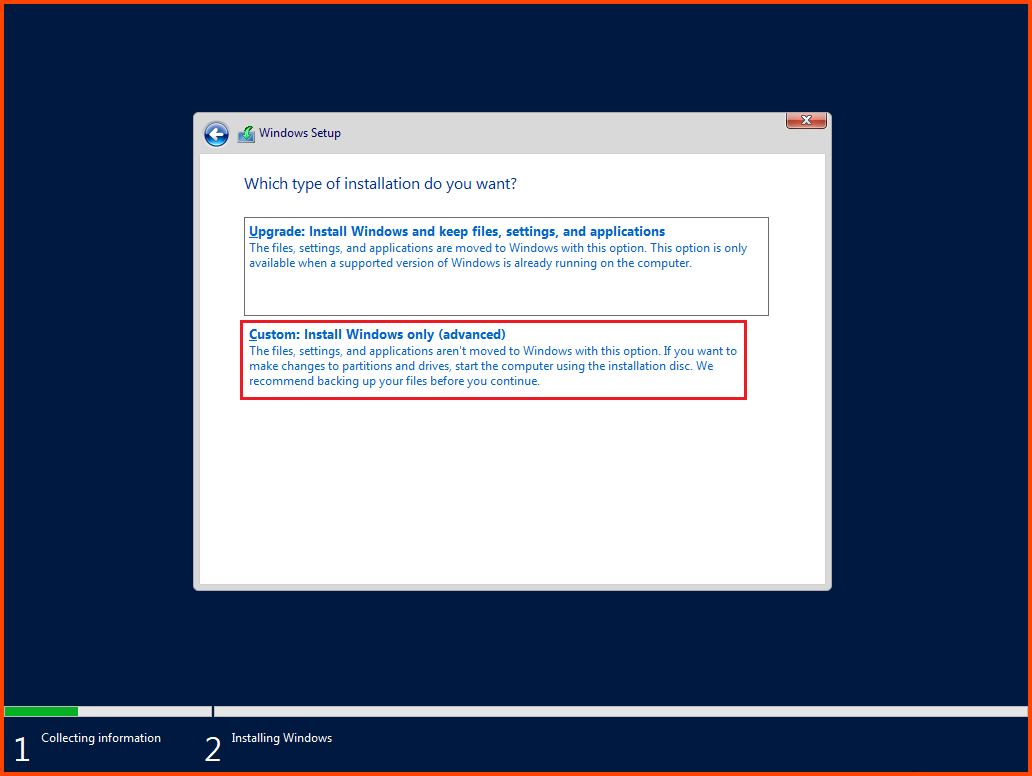
Select **`Custom: Install Windows only (Advanced)`**.
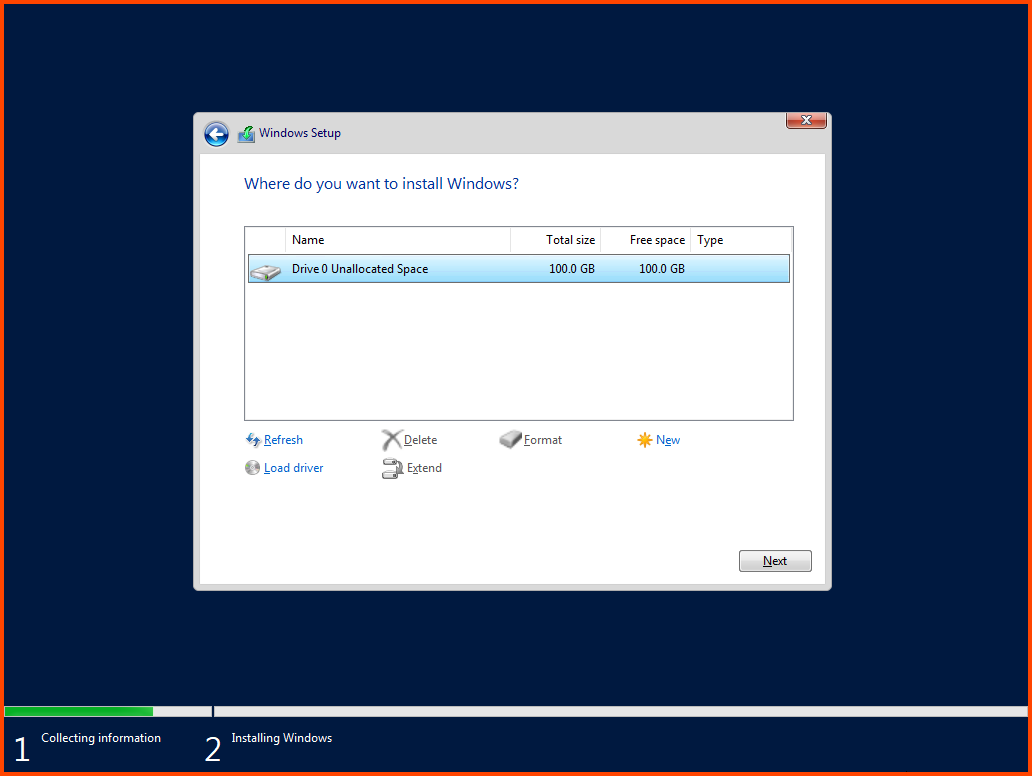
Select **`Disk 0`** and click on **`Next`**.
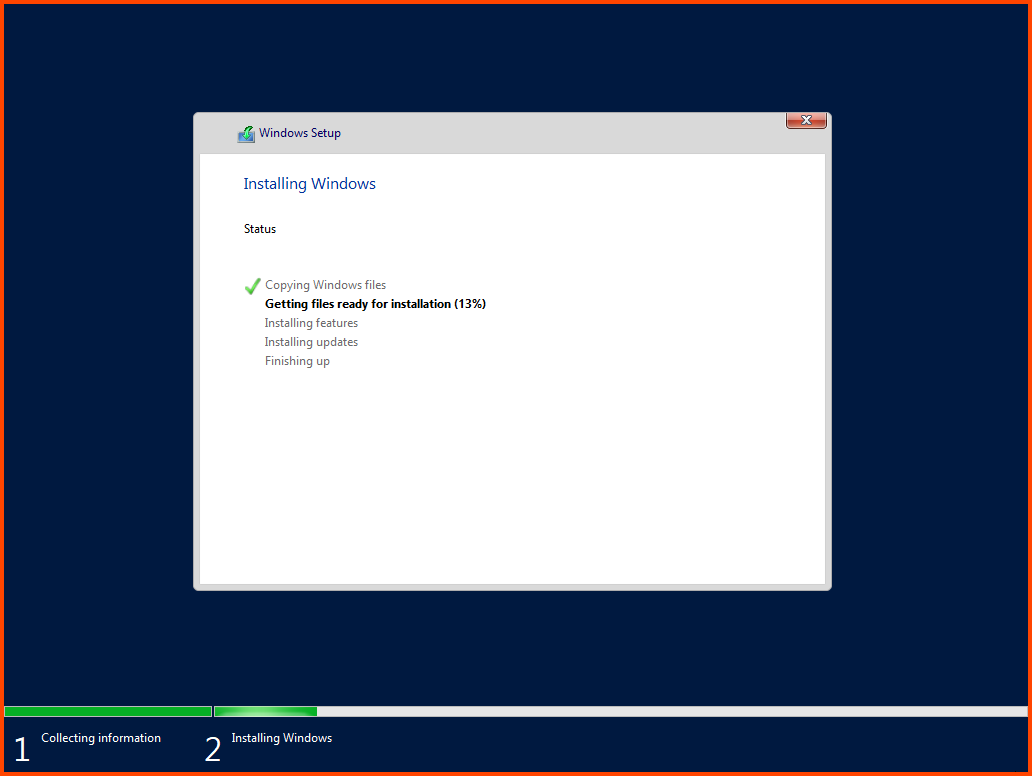
The VM will restart a couple of times during the installation process.
#### OS Setup & Configuration
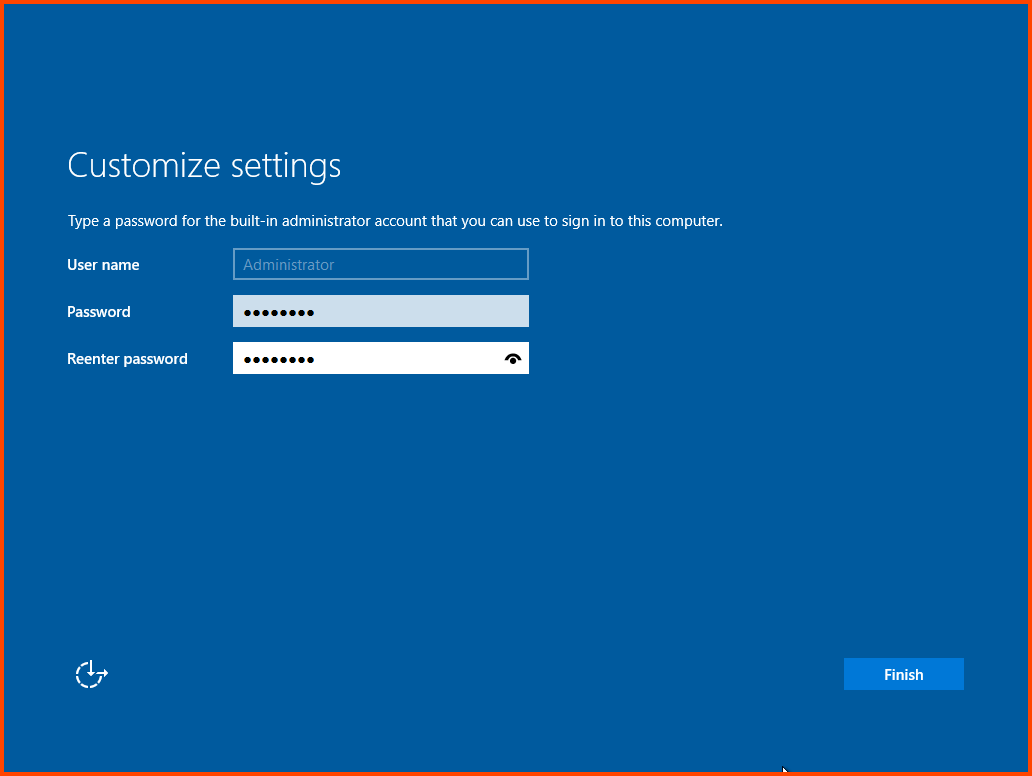
Once the installation is complete we will be asked to set the password for the Administrator account. Once set click on **`Finish`**.
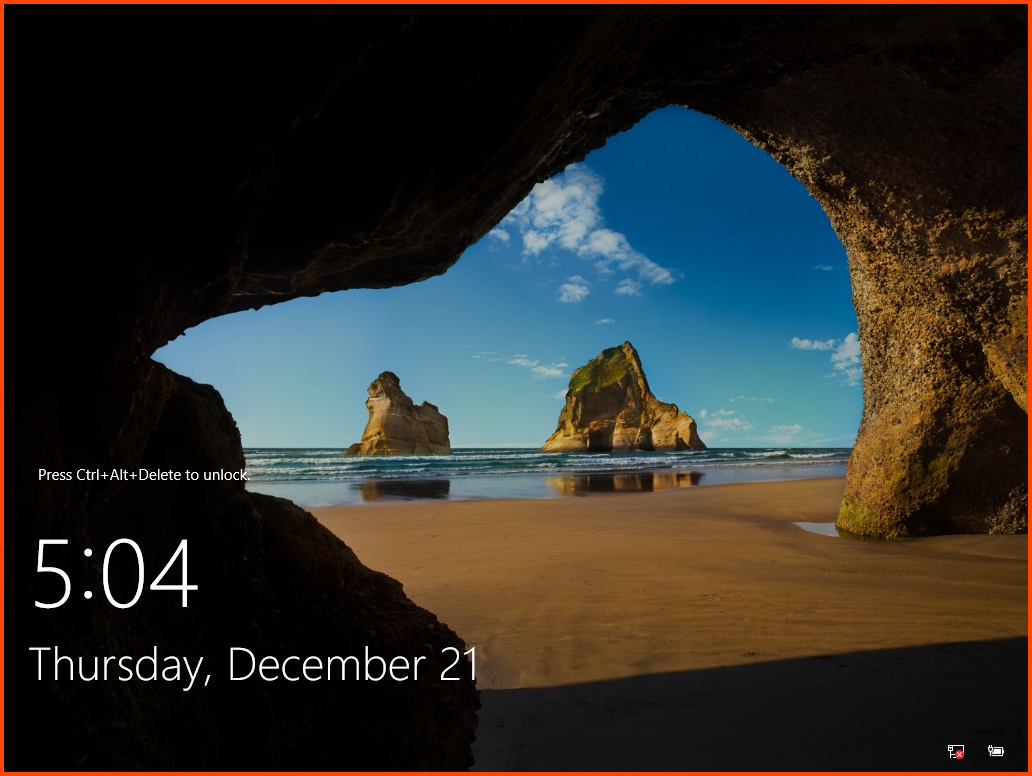
We won’t be able to log in by using the **`Ctrl+Alt+Delete`** shortcut. This will open the system settings menu of the host system.
VirtualBox has a shortcut configured to perform this action. Use the shortcut **`Right Ctrl+Delete`** to access the login screen. Enter the configured password to access the VM.
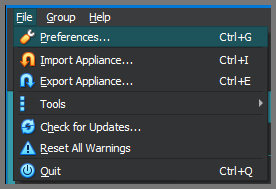
To view the configured shortcuts from the main VirtualBox window click on **`File -> Preferences`**.
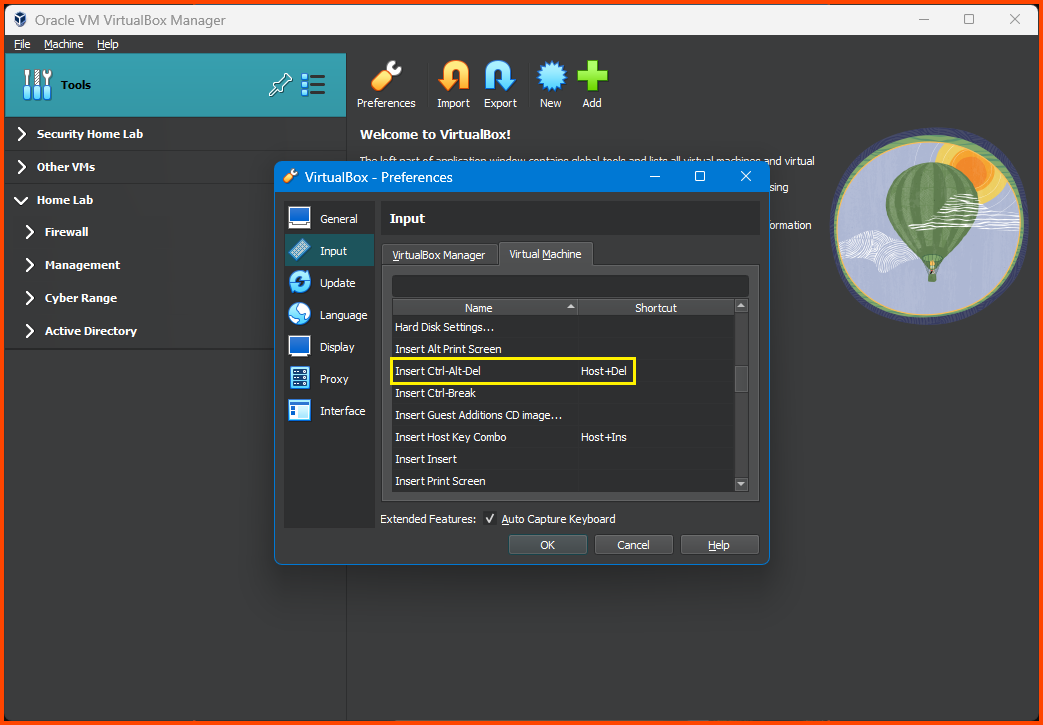
Select **`Input -> Virtual Machine`**. If we scroll down we should see that **`Ctrl+Alt+Delete`** has been mapped to **`Host+Delete`**. The default mapping for the host key is **`Right Ctrl`**.
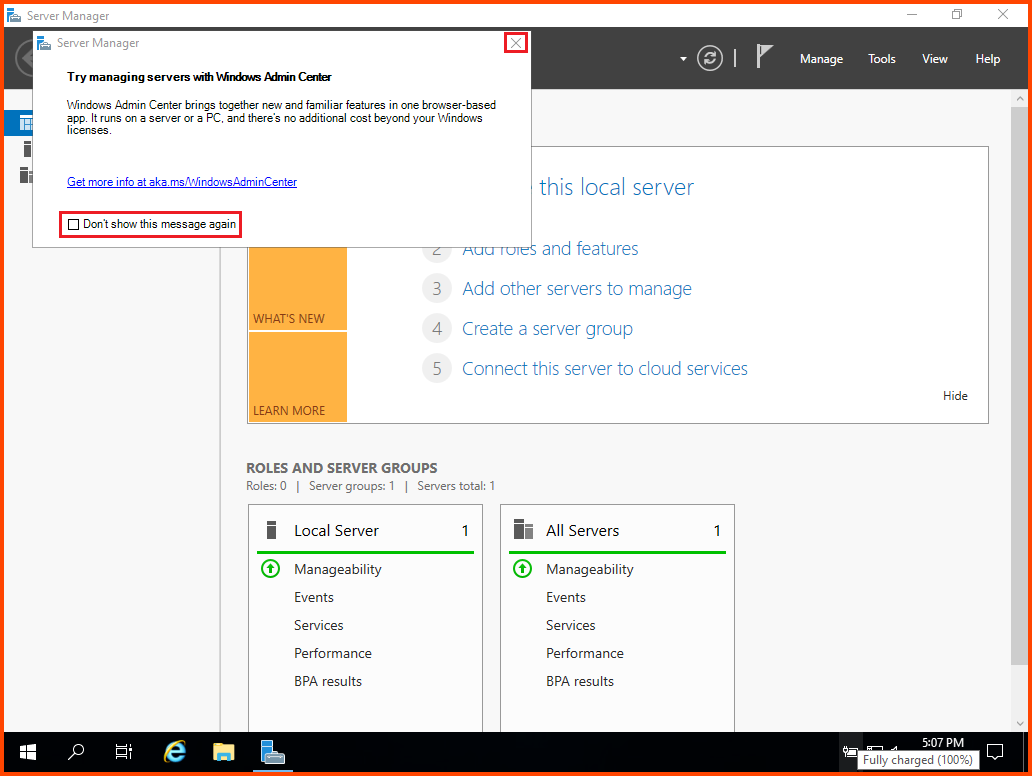
Once we log in. Server Manager will automatically open. A popup will also open asking us to try Windows Admin Center. Click on Don't show this message again and then click on **`X`** to close the popup.
**Guest Additions Installation**
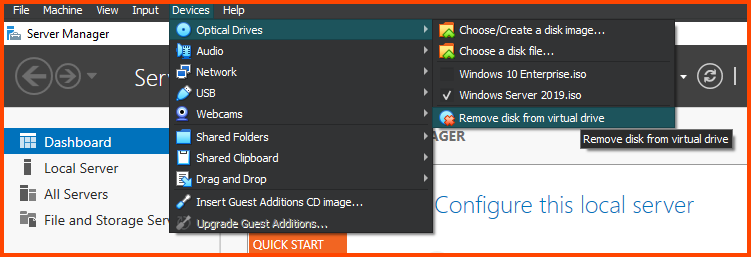
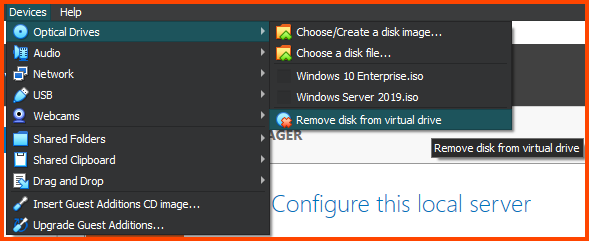
To make the VM screen size bigger we need to install Guest Additions. From the VM toolbar click on **`Devices -> Optical Devices -> Remove disk from virtual drive`**. This will remove the Windows Server 2019 image from the disk drive.
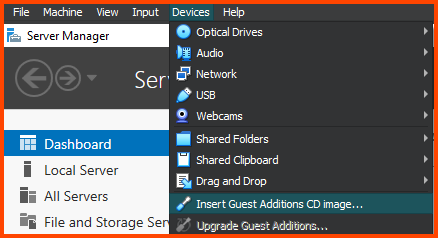
Then select **`Devices -> Insert Guest Additions CD image`**.
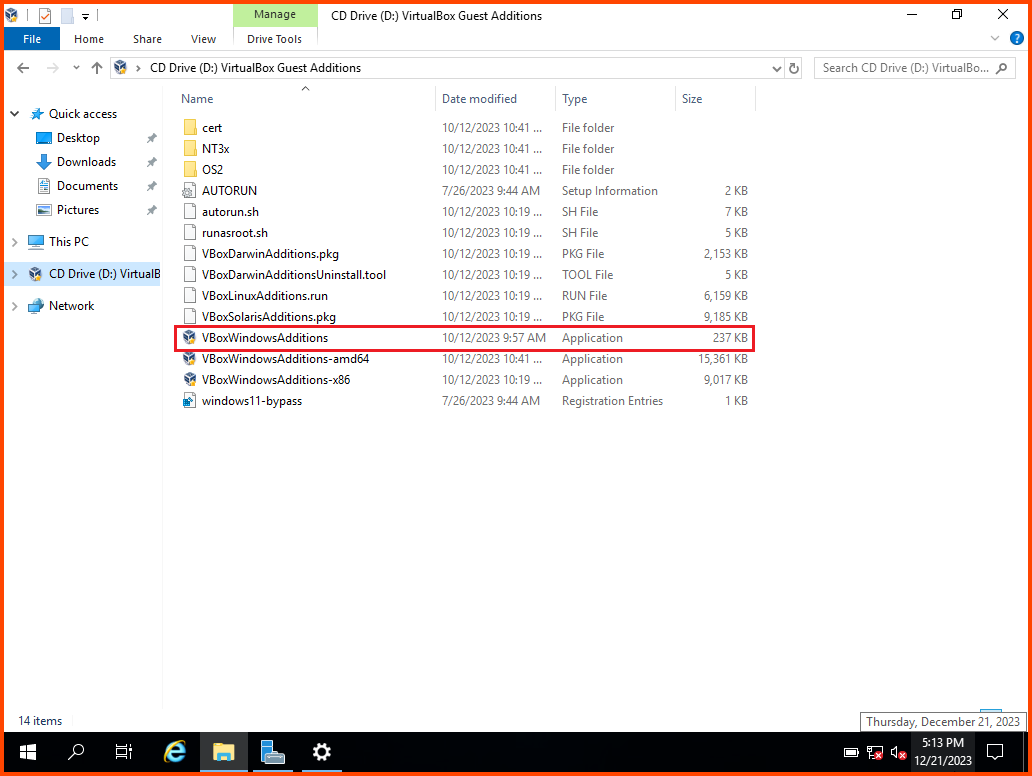
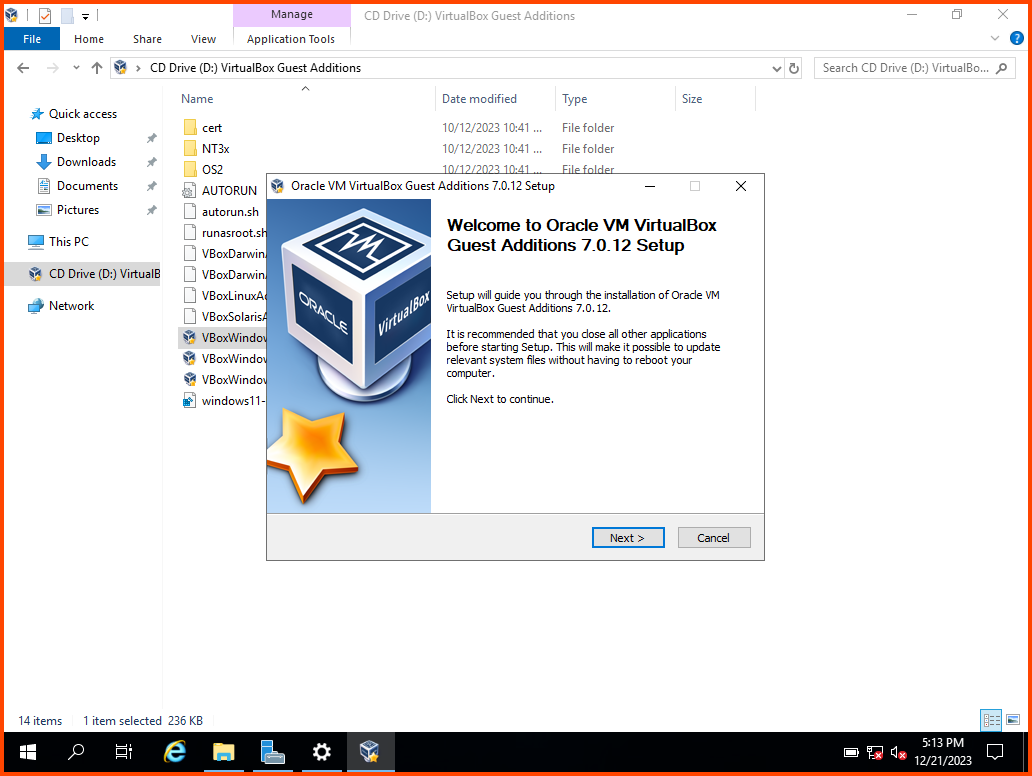
From the taskbar open **`File Explorer`**. Once the disk is loaded it will show up in the sidebar. Click on it to view its content. Double-click on **`VBoxWindowsAdditions`** (4th file from bottom) to start the installer.
Click on **`Next`**.
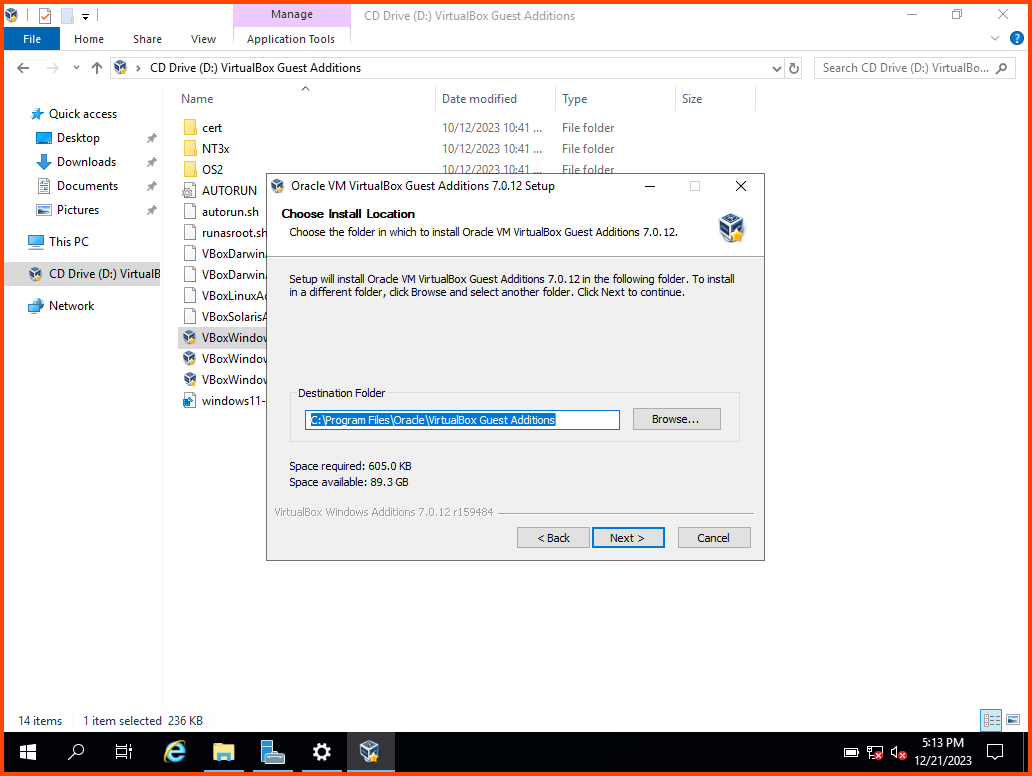
Click on **`Next`**.
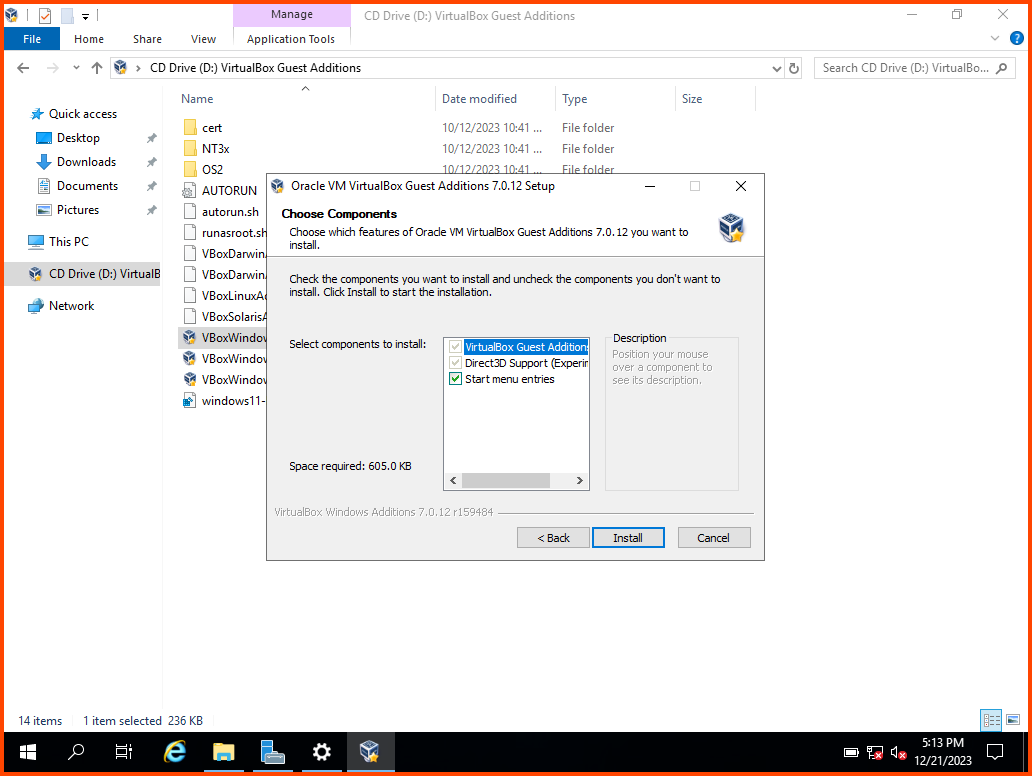
Click on **`Next`** again to install the requirement components.
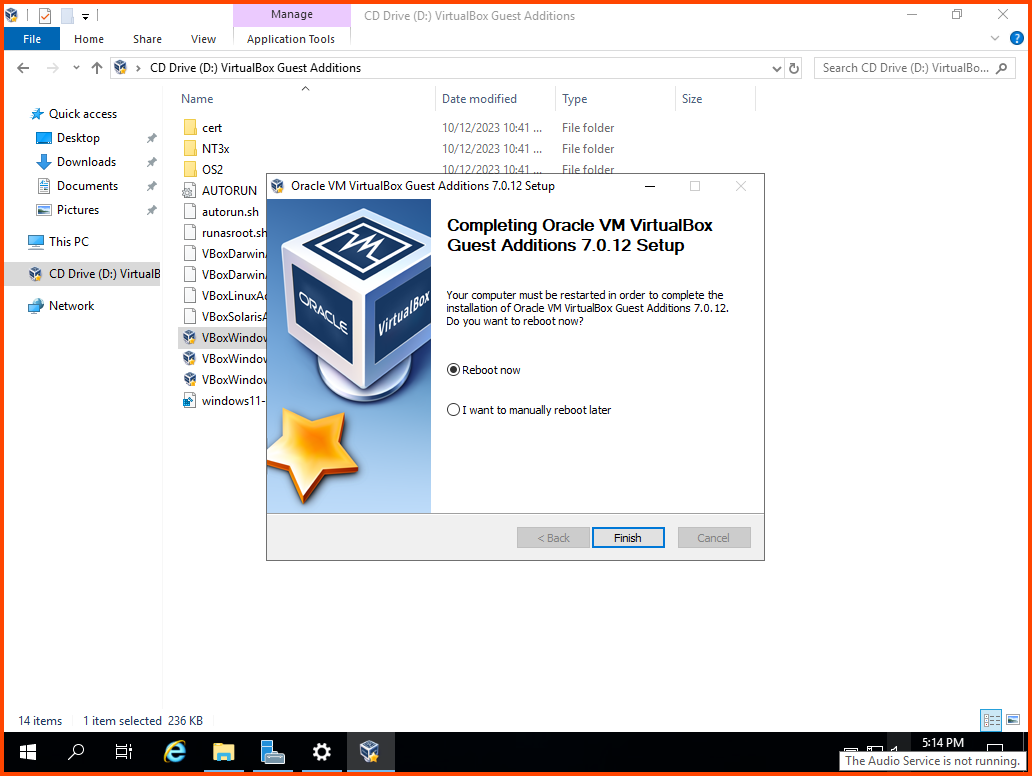
Choose **`Reboot now`** and click on **`Finish`**. The VM will restart automatically.
After restart, log into the system. From the VM toolbar click on **`Devices -> Optical Drivers -> Remove disk from virtual drive`** to remove the Guest Additions image.
Use the shortcut **`Right Ctrl+F`** to enter Fullscreen mode. The VM will automatically scale to fill the entire screen. Use the same shortcut to exit Fullscreen mode.
**Network Configuration**
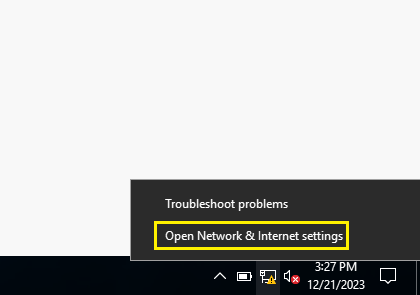
During the pfSense setup module (Part 2) we disabled DHCP on the **`AD_LAB`** interface because of this our VM will not be automatically assigned an IP address. From the taskbar right-click on the network icon and select **`Open Network & Internet settings`**.
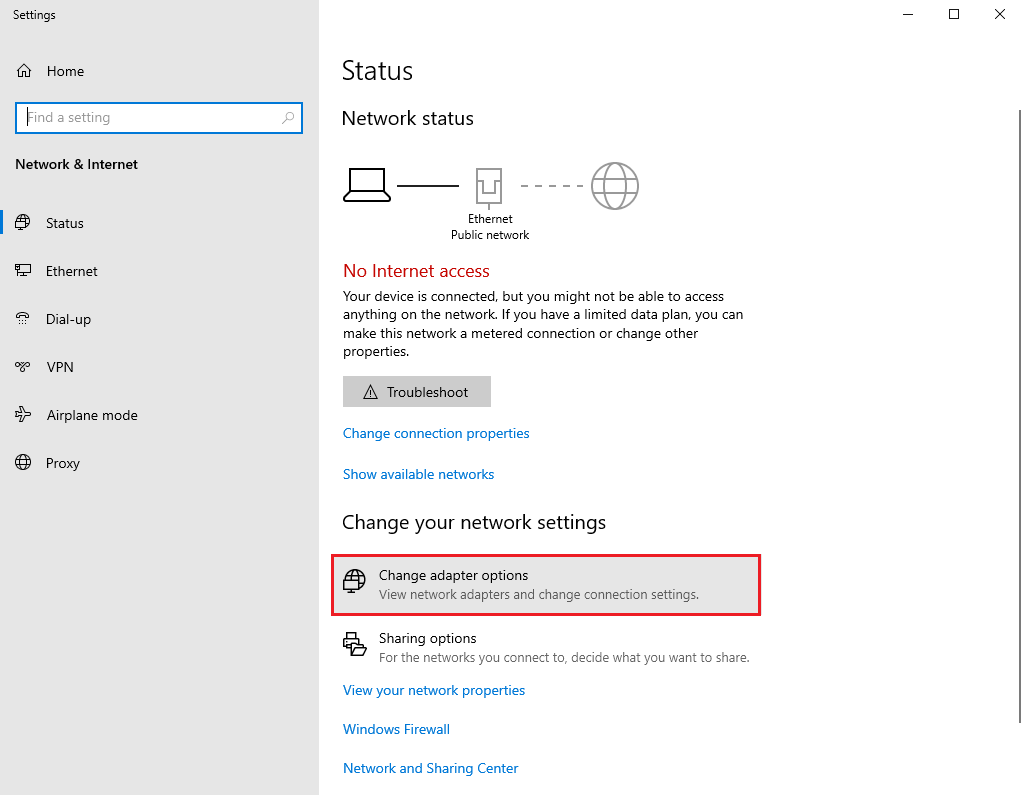
Click on “Change adapter options”.
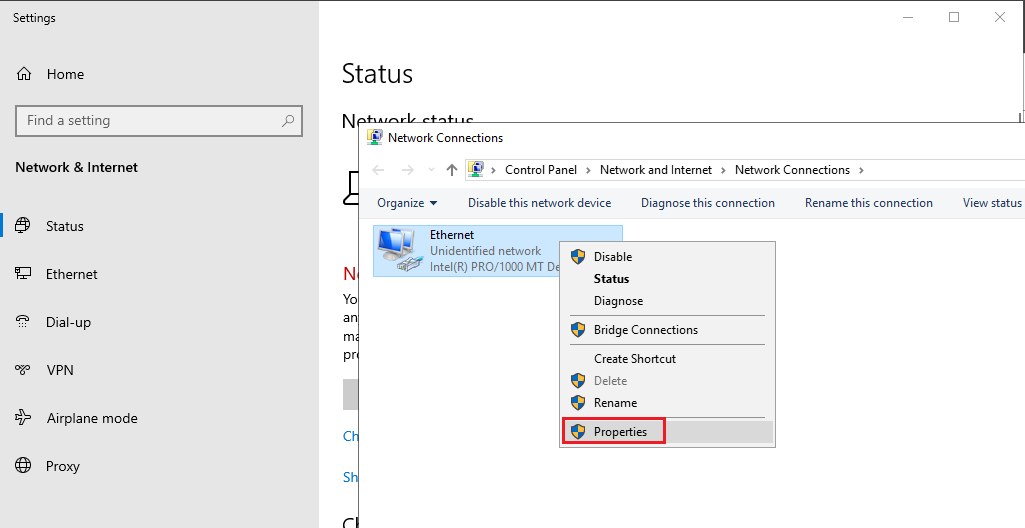
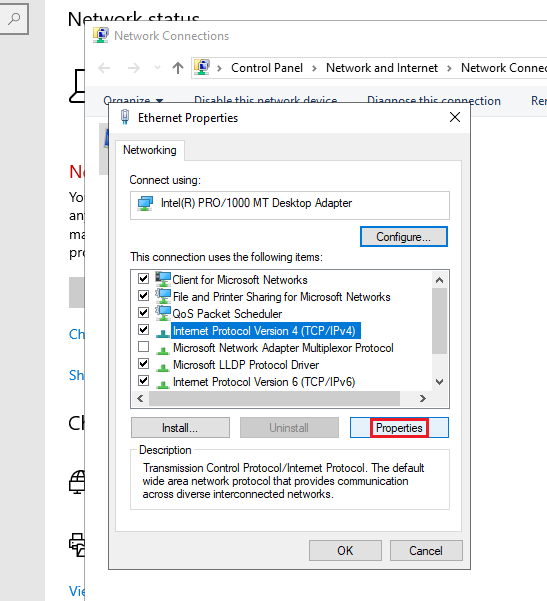
On the Network Connections page, we should see the Ethernet adapter. Right-click on the adapter and select **`Properties`**.
Select **`Internet Protocol Version 4 (TCP/IPv4)`** and click on **`Properties`**.
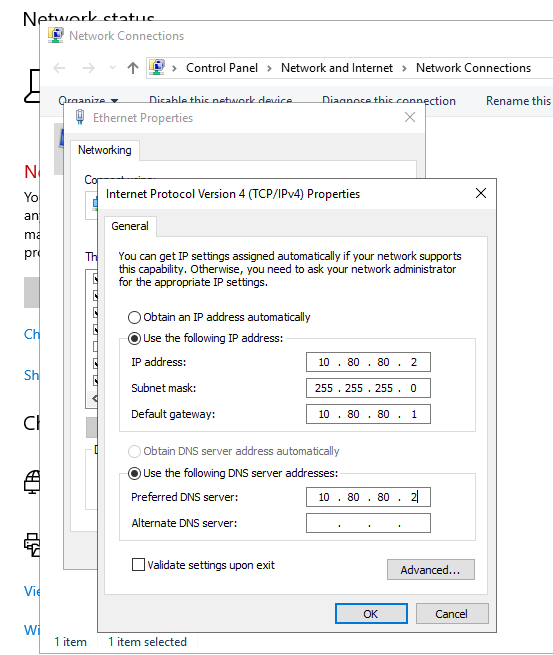
Enter the details as shown below and then click on **`OK`**. Click on **`OK`** again to close the Ethernet Properties menu.
IP address: **`10.80.80.2`**\
Subnet mask: **`255.255.255.0`**\
Default gateway: **`10.80.80.1`**\
Preferred DNS Server: **`10.80.80.2`**
Windows will display a banner to allow internet access click on **`Yes`**.
Close the Network Connections page.
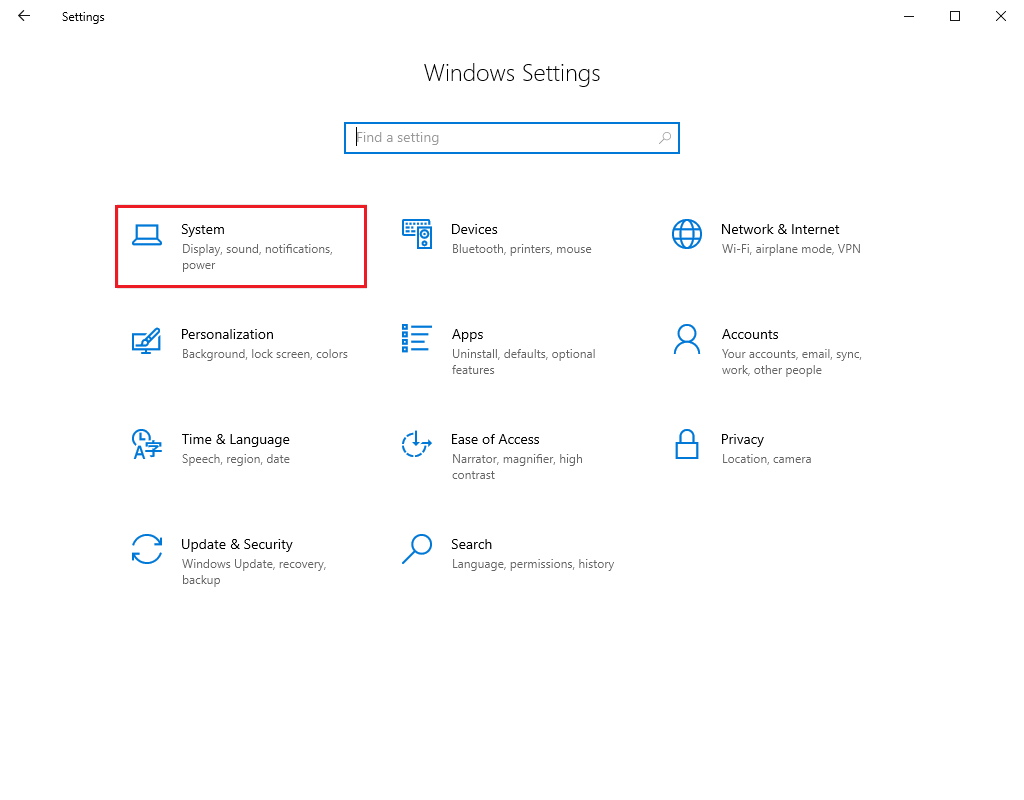
In the Settings app click on the **`Home`** button (above search bar).
**Renaming the System**
Before we can set up the machine to be a Domain Controller let us rename the PC. Select “System”.
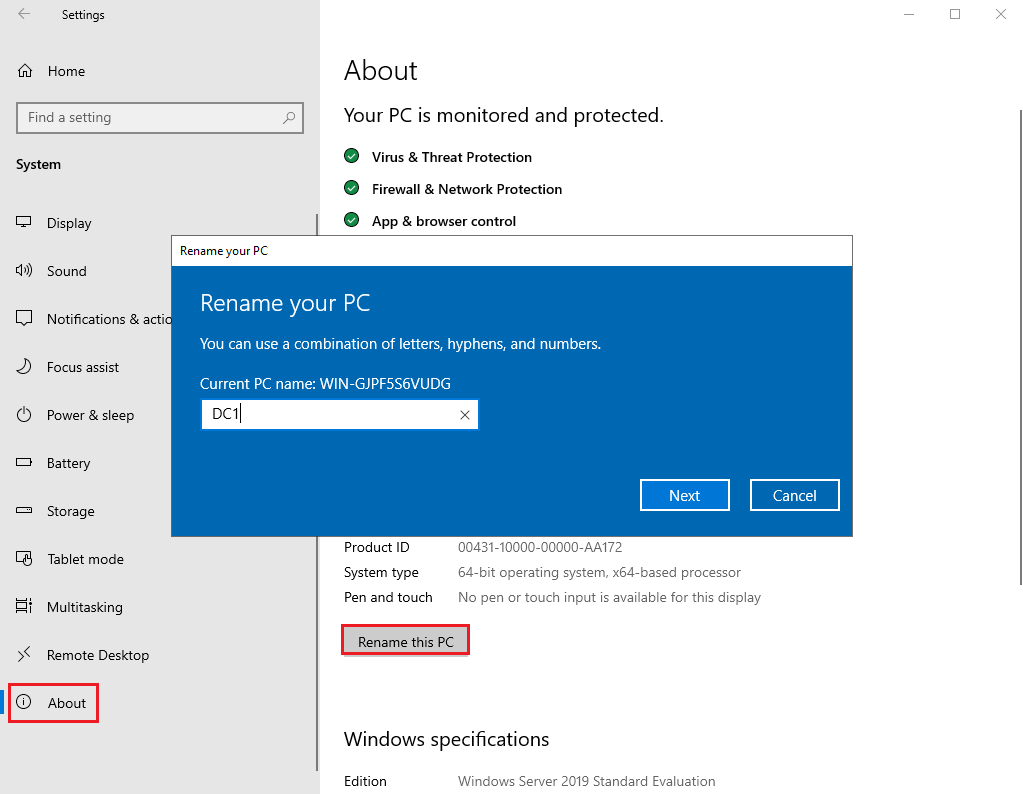
Click on About on the sidebar and then click on the “Rename this PC” button. Give the PC an easy-to-remember name and then click on **`Next`**.
Click on “Restart now” for the changes to take effect.
**Active Directory & DNS Installation**
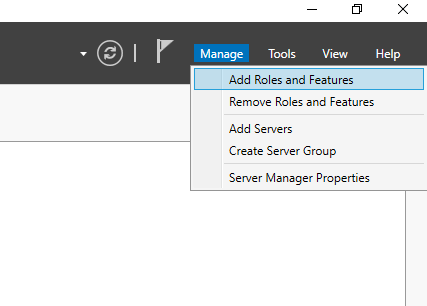
After login wait for Server Manager to load. Click on the **`Manage`** button from the top right corner and select “Add Roles and Features”.
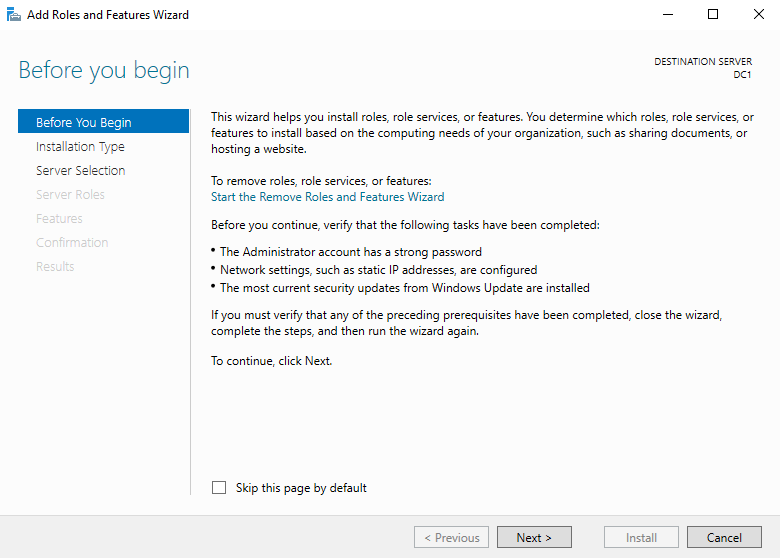
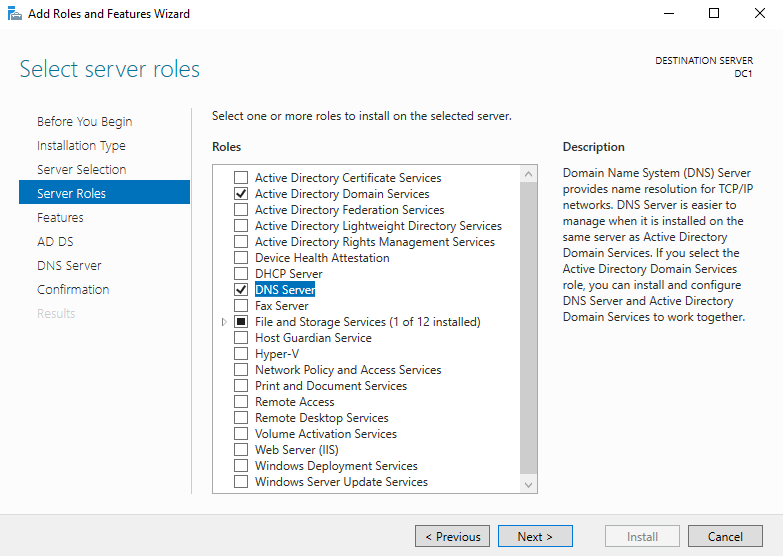
Click on **`Next`** till you reach the Server Roles page.
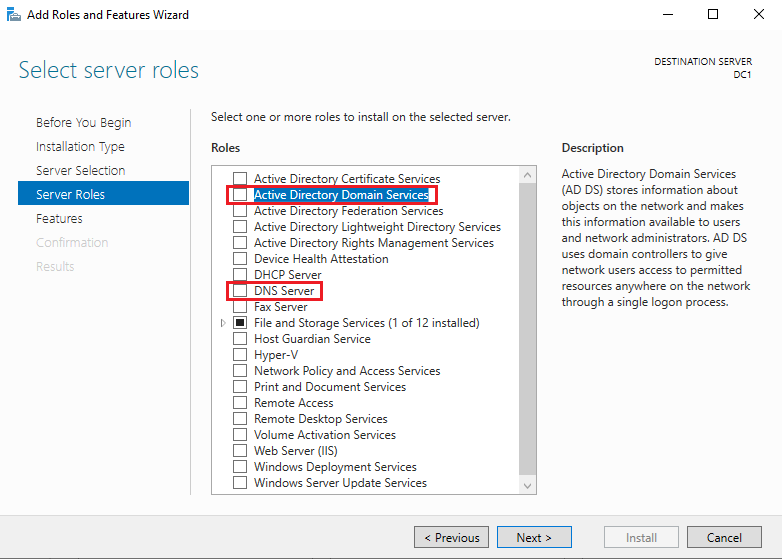
On this page enable “Active Directory Domain Services” and “DNS Server”.
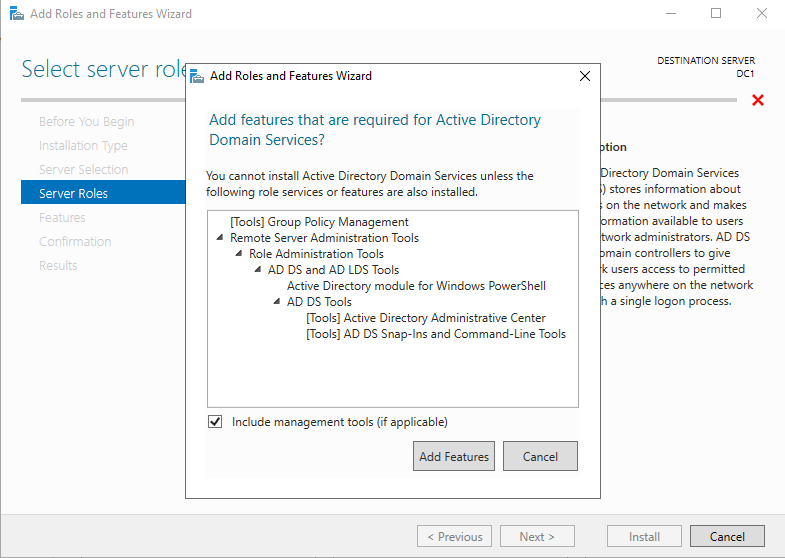
When you enable a feature the “Add Roles and Features Wizard” will open click on “Add Features” to confirm the selection.
Once both the features are selected click on **`Next`** to proceed with installation.
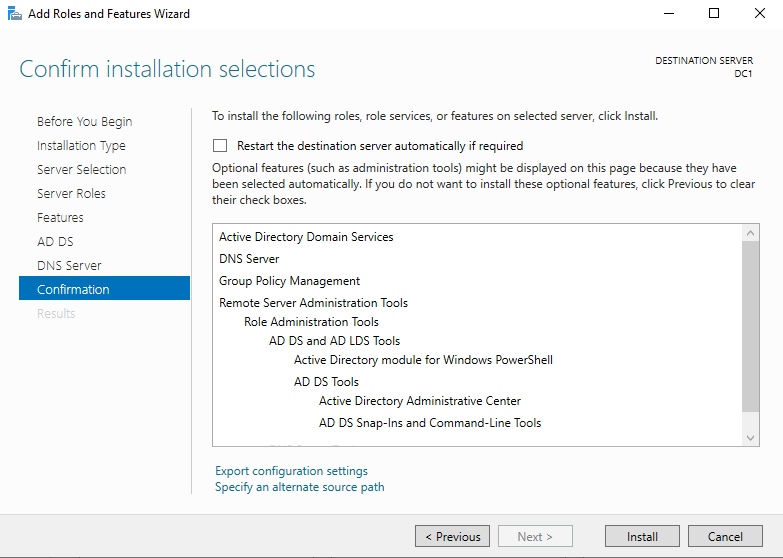
Click **`Next`** till you reach the Confirmation page. Here click on **`Install`** to start the installation of the selected features.
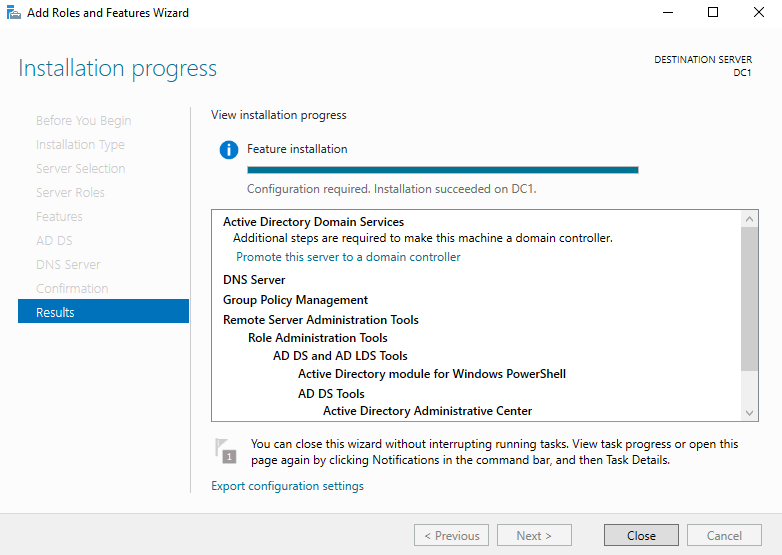
Once the installation is complete click on **`Close`** to exit the Wizard.
**Active Directory Configuration**
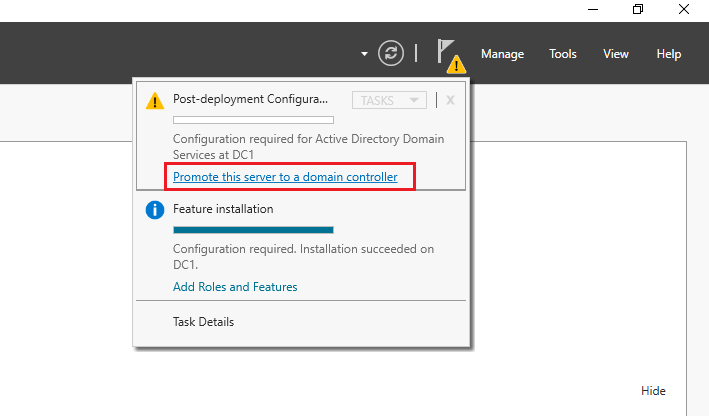
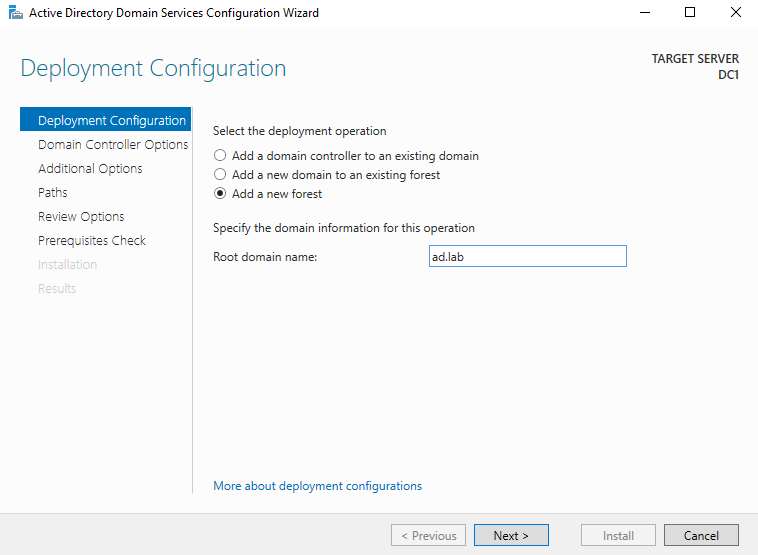
Click on the Flag icon present in the top right of the toolbar in Server Manager. From the dropdown click on “Promote this server to a domain controller”.
The AD Domain Servers Configuration Wizard will open. For deployment operation select **`Add a new Forest`**. Give the domain a name. For my setup, I will be using the domain name **`ad.lab`**. After selecting the name click on **`Next`**.
> The name assigned to the domain has to be made of two words that are separated by a period.
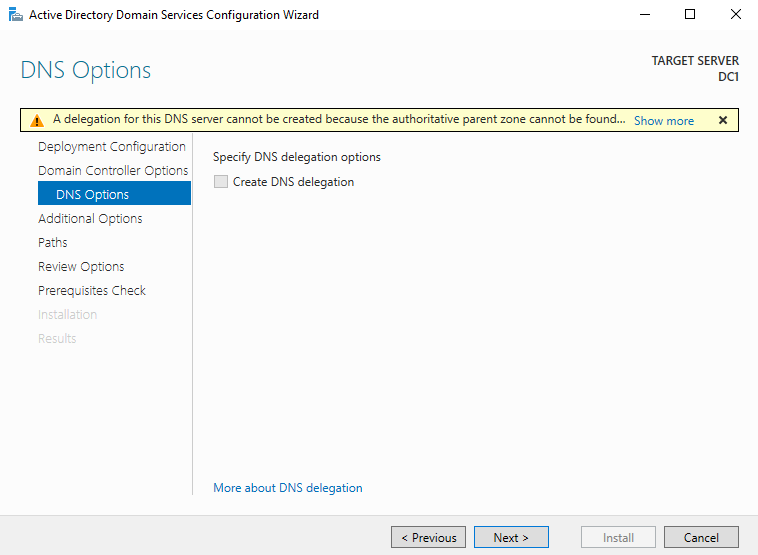
On this page enter a password to use for using the AD Restore feature.
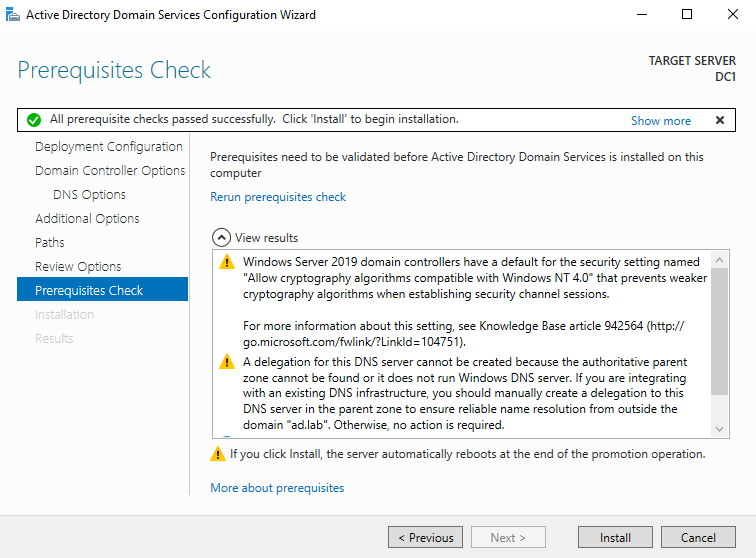
Ignore the warning that is shown and click on **`Next`**.
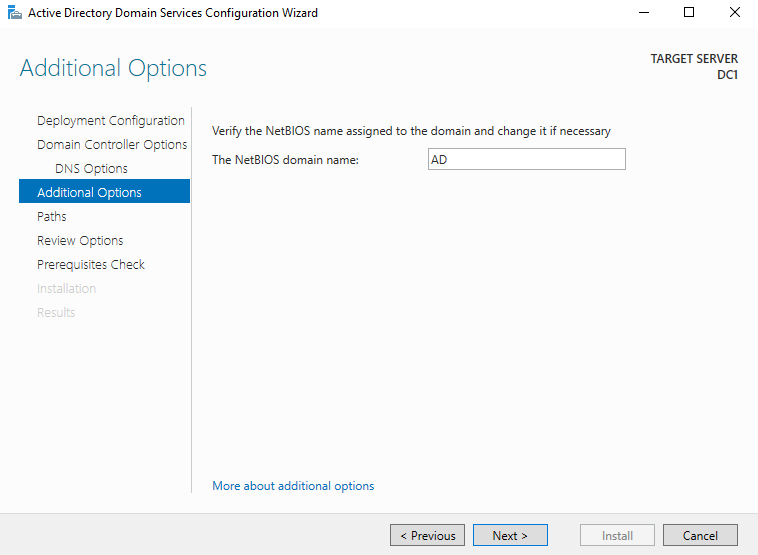
The NetBIOS name should automatically be filled. It will be the first part of the domain name. Click on **`Next`** to continue.
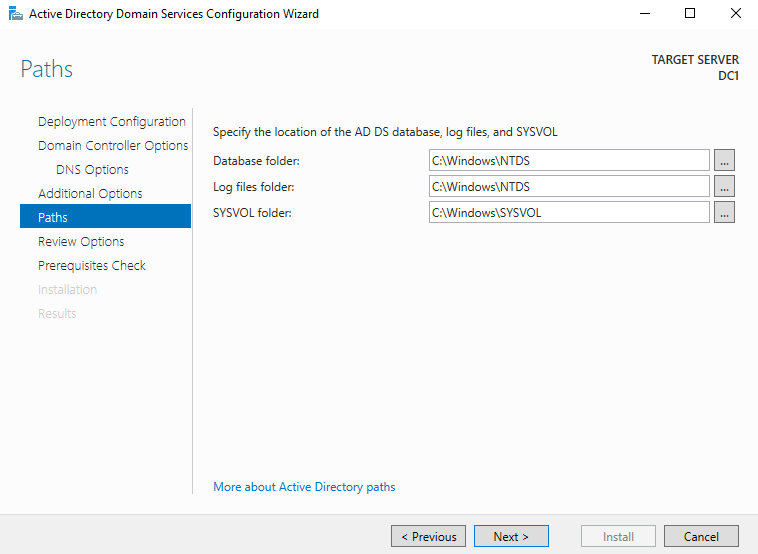
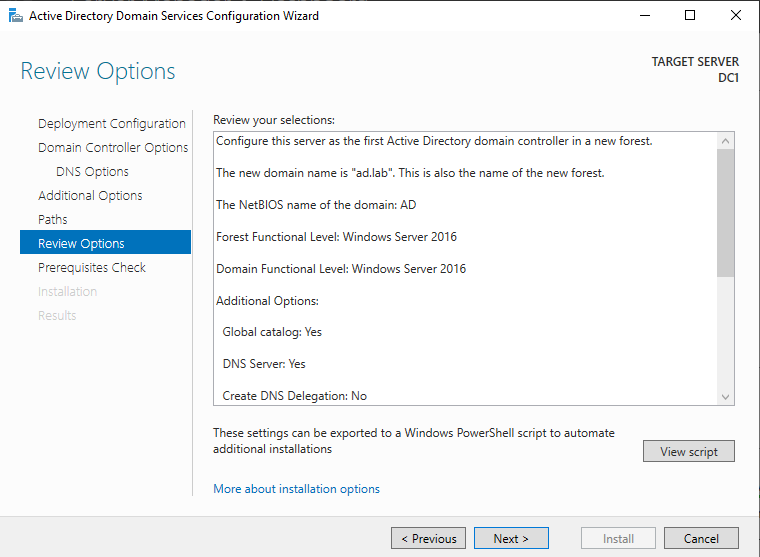
Click on **`Next`**.
Click on **`Next`**.
Click on **`Install`** to start the Domain Services setup process.
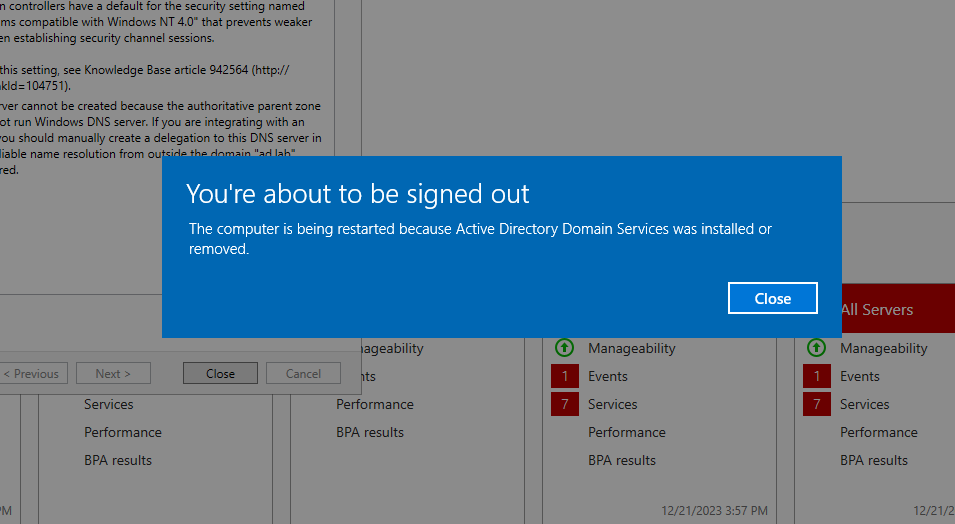
Once the install process is complete the machine will need to restart. Click on **`Close`** to reboot the system.
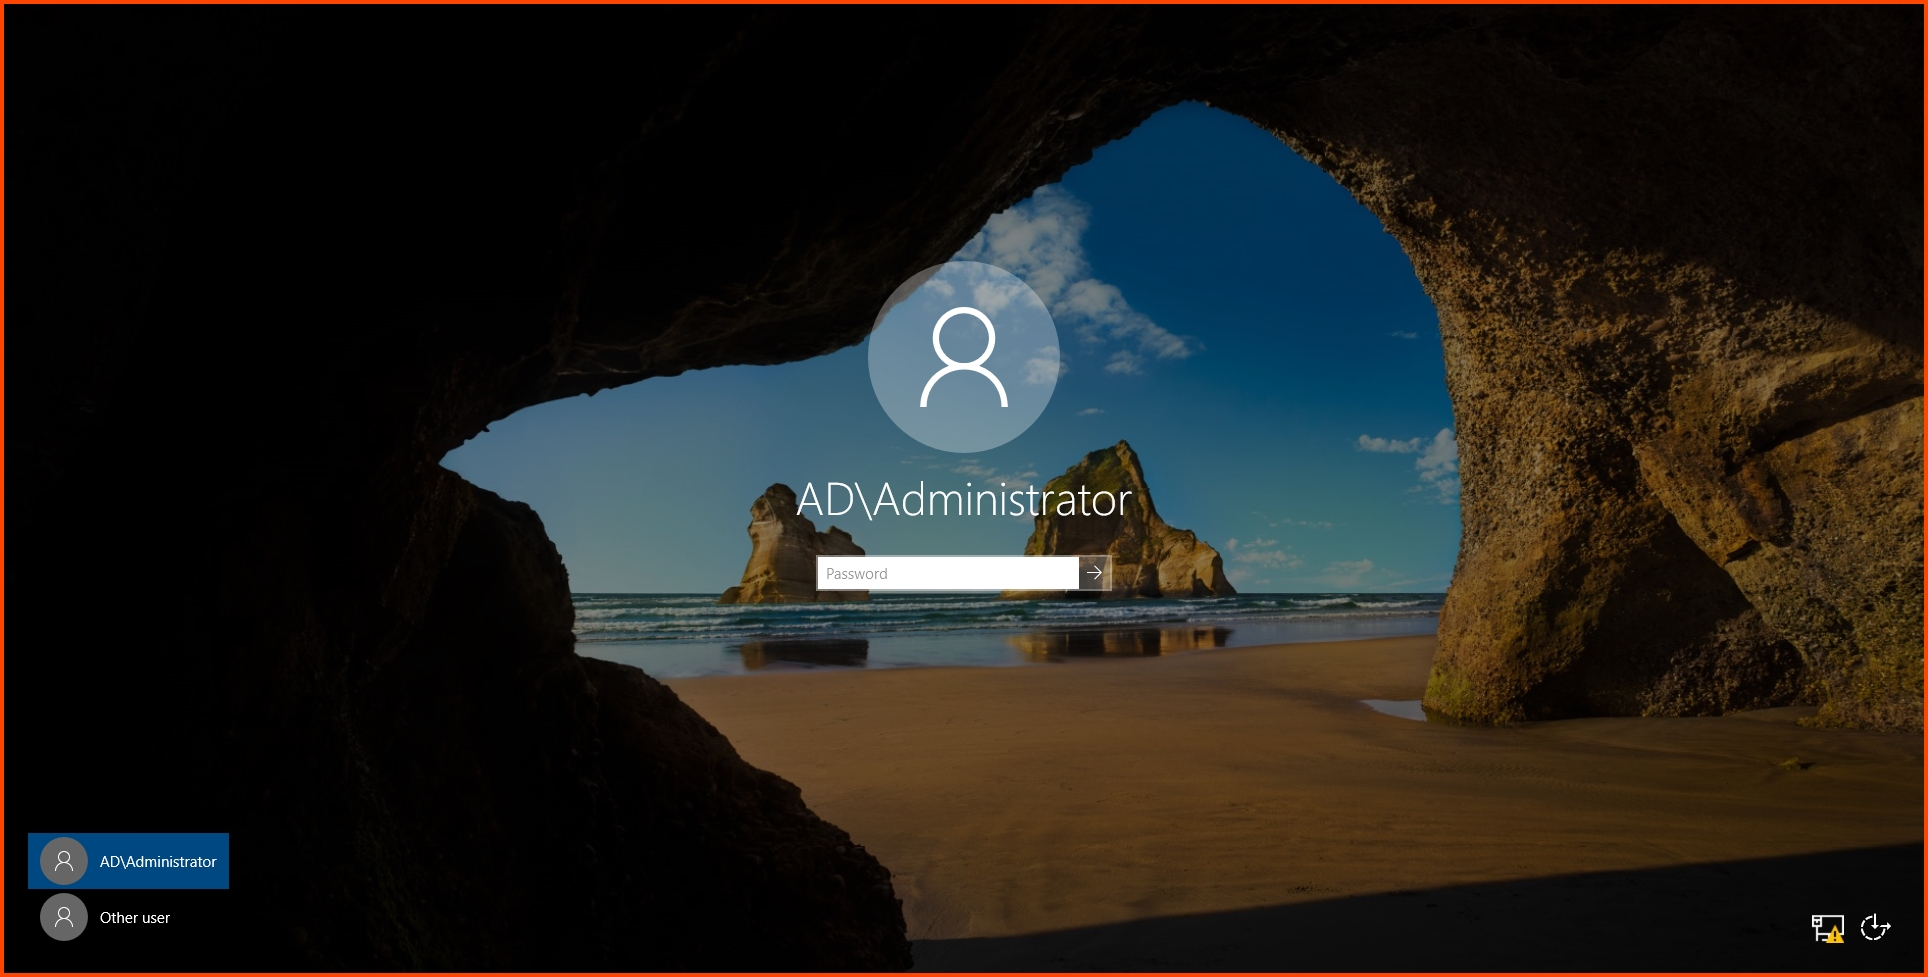
On restart, you will notice that the name that is shown on the login page has changed. The first part of the domain name is prepended to the username. This means the machine has successfully been configured as the domain controller. Log in using the Administrator password.
**DNS Configuration**
Since we enabled DNS on this machine (Domain Controller). This machine (DC) will act as the DNS server for devices that are connected to the **`ad.lab`** environment. For the DNS service to function properly we need to configure a Forwarder. Forwarder is the device to which the DNS queries will be sent when the DC cannot resolve it. In our case, we need to forward the request to pfSense. The DNS service of pfSense will then perform the lookup.
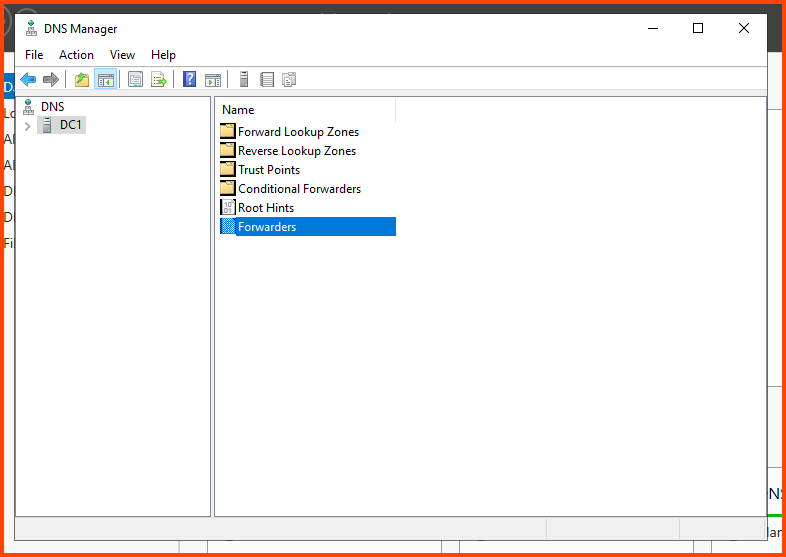
Open the Start menu expand the “Windows Administrative Tools” folder and select **`DNS`**.
In the sidebar select the Domain Controller (in my case DC1) and from the right menu double-click on “Forwarders”.
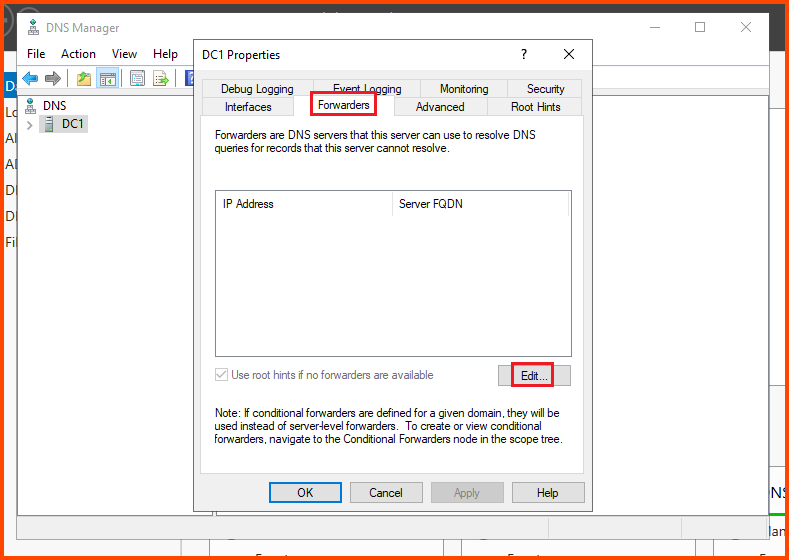
Go to **`Forwarders -> Edit`**.
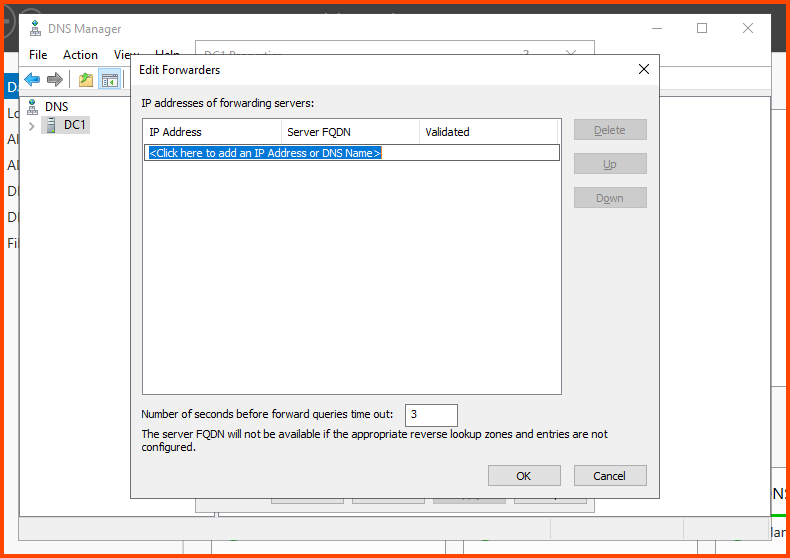
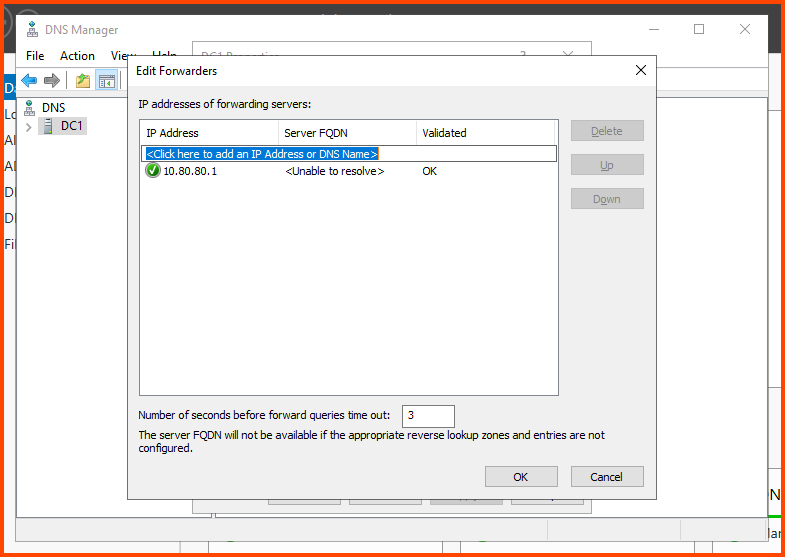
This will open the Forwarder configuration page. Enter the IP address of the **`AD_LAB`** interface (**`10.80.80.1`**) and press **`Enter`**.
Once added. Click on **`OK`** to confirm the change.
Click on **`Apply`** then **`OK`** to save the changes.
**DHCP Installation**
Since DHCP is disabled on the **`AD_LAB`** interface when new devices are added they will not be assigned an IP address. We will enable the DHCP service on the DC. Once set devices that connect to the **`AD_LAB`** network will be automatically assigned an IP address by the Domain Controller DHCP server.
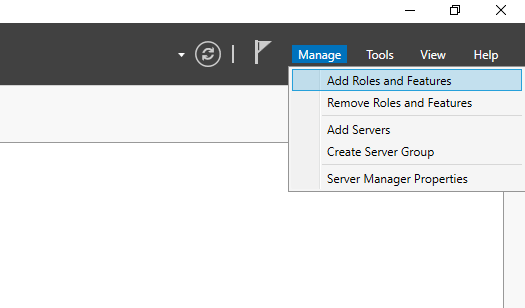
Click on Manage from the toolbar in Server Manager. Then choose “Add Roles and Features”.
Keep clicking **`Next`** till you reach the “Server Roles” page. Enable “DHCP Server” then click on “Add Features”.
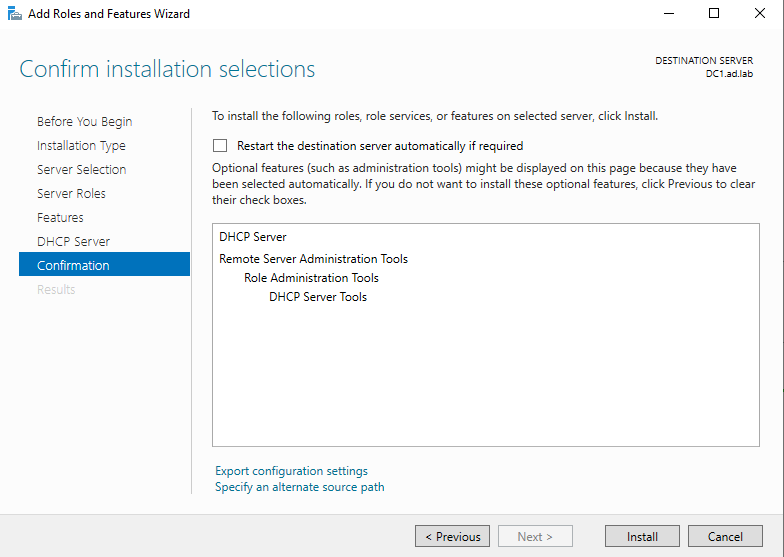
Keep clicking **`Next`** till you reach the Confirmation page. Click **`Install`** to enable DHCP.
**DHCP Configuration**
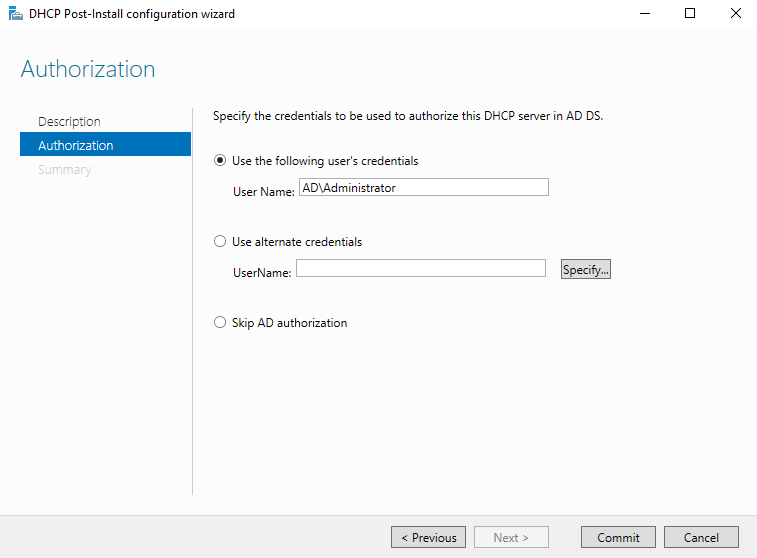
After the installation is complete click on the Flag present in the toolbar of Server Manager and click on “Complete DHCP configuration”.
Click on **`Commit`**.
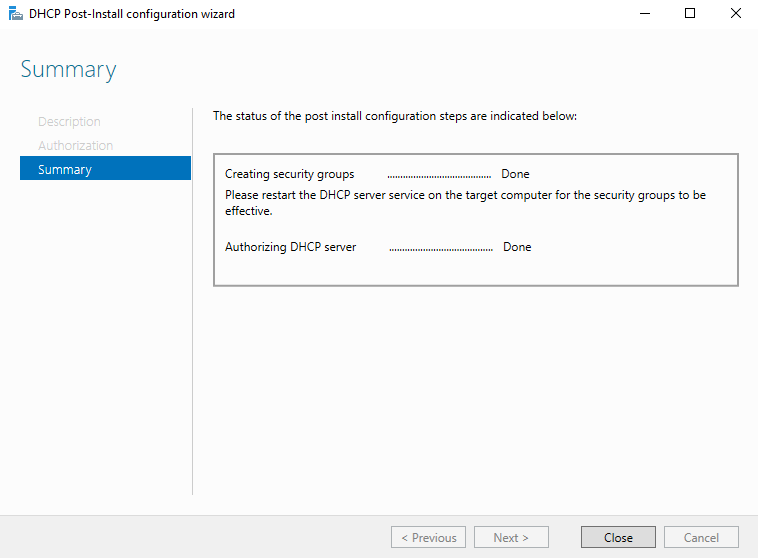
Click on **`Close`** to complete the installation.
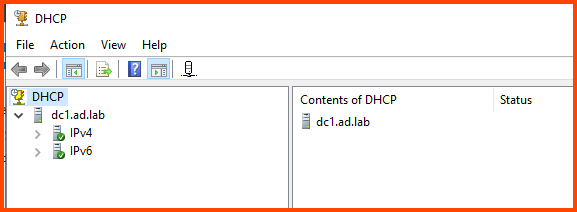
From the Start menu click on “Windows Administrative Tools” and then choose **`DHCP`**.
Expand the DHCP server (in my case **`dc1.ad.lab`**) dropdown on the left side of the window.
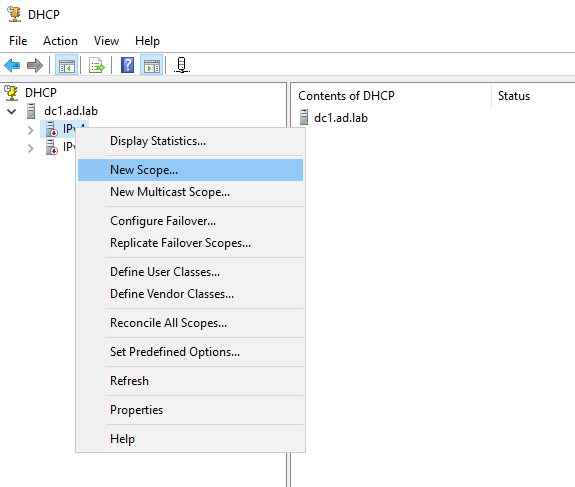
Right-click on **`IPv4`**. Then select “New Scope”. The scope defines the range of IP addresses that can be assigned to devices by the DHCP server.
Enter a Name and Description for the new scope.
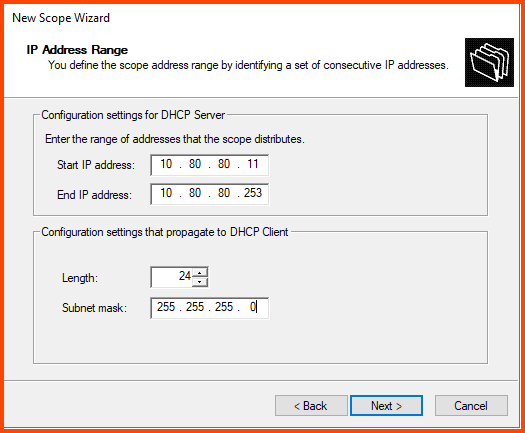
Enter the details as shown below.
Start IP address: **`10.80.80.11`**\
End IP address: **`10.80.80.253`**\
Length: **`24`**\
Subnet mask: **`255.255.255.0`**
> You can chose the Start IP address to be **`10.80.80.3`**. I have purposely left the starting IP addresses out of the DHCP scope. In the future if the need arises I can use these IPs for static IP assignment.
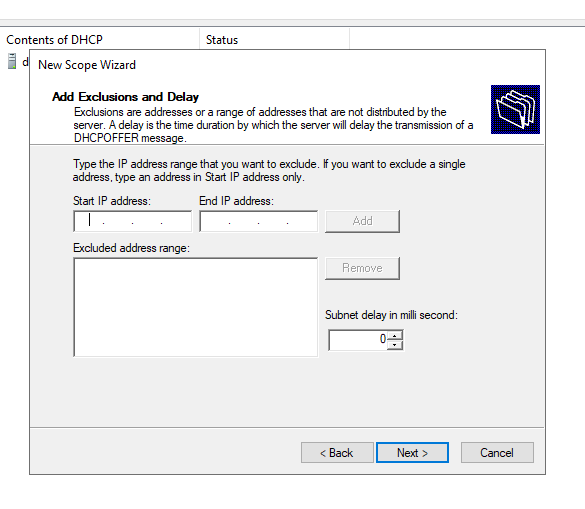
We don’t have any Exclusions (static IP assignment). Leave all the options empty and click on **`Next`**.
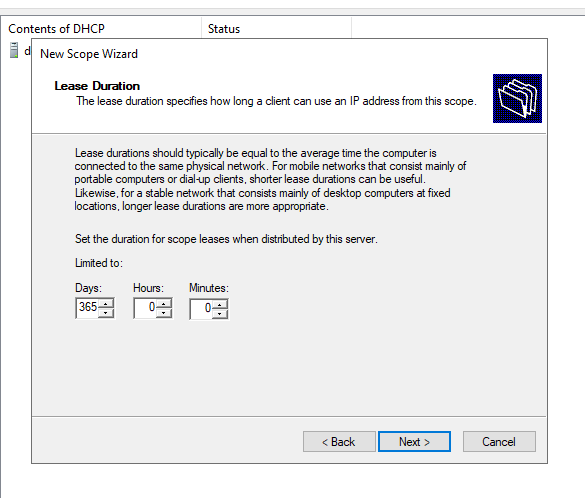
Increase the lease time to **`365`** days and click on **`Next`**.
> Since we increased the lease duration when a IP address is assigned to a device the device will be allowed to use that IP address without requesting a new IP address for 365 days.
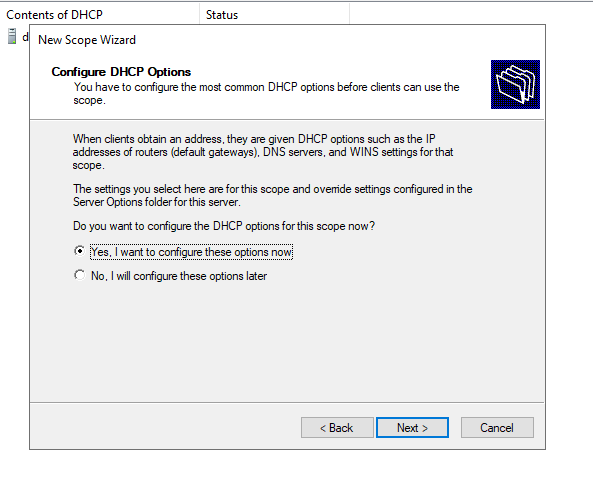
Select “Yes, I want to configure these options now” and click on **`Next`**.
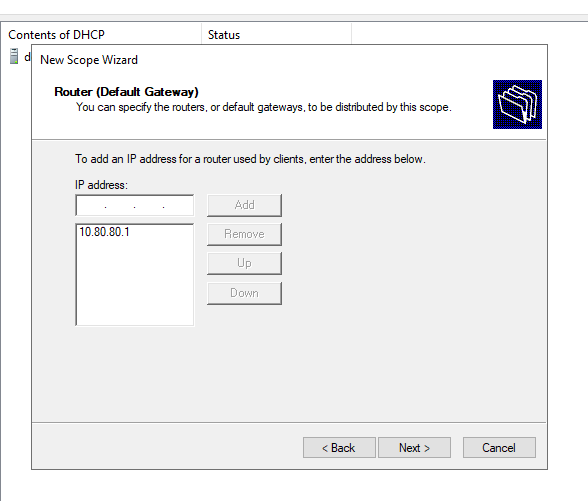
In the IP address field enter the default gateway for the **`AD_LAB`** interface (**`10.80.80.1`**) and then click on **`Add`**. Once added click on **`Next`**.
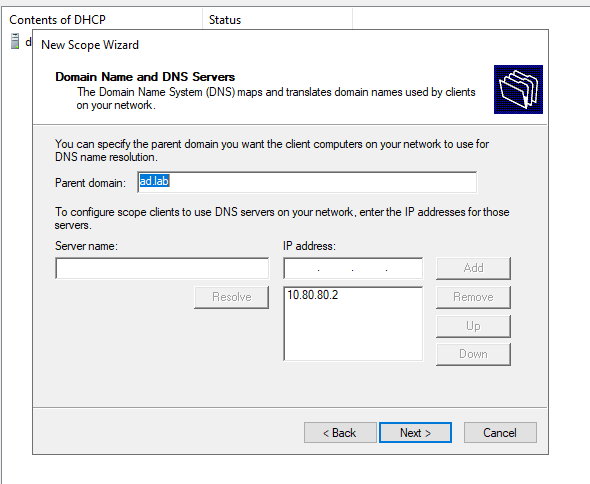
Click on **`Next`**.
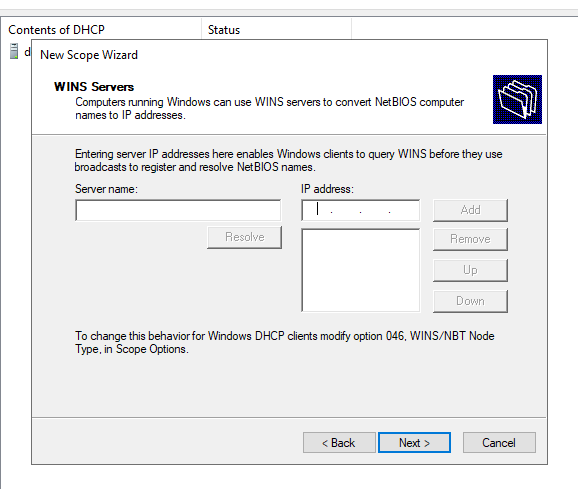
We are not configuring a WINS Server for our environment so click on **`Next`**.
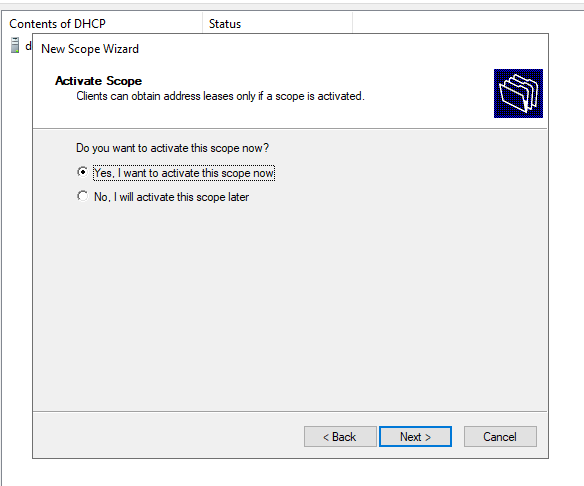
Select “Yes, I want to activate this scope now” and click on **`Next`**.
So far we have installed Windows Server 2019, installed Guest Additions, configured the VM to be the Domain Controller (DC), set up a DNS Forwarder and configured DHCP. We still need to create users in the DC and set up client machines to use the AD environment. We will cover these topics in part 2 of this module.
---
# Agent Instructions: Querying This Documentation
If you need additional information that is not directly available in this page, you can query the documentation dynamically by asking a question.
Perform an HTTP GET request on the current page URL with the `ask` query parameter:
```
GET https://foothold.gitbook.io/blog/home-lab-part-6.md?ask=
```
The question should be specific, self-contained, and written in natural language.
The response will contain a direct answer to the question and relevant excerpts and sources from the documentation.
Use this mechanism when the answer is not explicitly present in the current page, you need clarification or additional context, or you want to retrieve related documentation sections.