Credit: This lab setup based on David Varghese Home\_Lab.
For convenience the contents are republished below:
## Home Lab Overview
* pfSense (Gateway & Firewall)
* Kali Linux (Management VM)
* Active Directory Lab (Domain Controller & 2 Clients)
* Malware Analysis Lab (Windows & Linux)
* Security VMs (DFIR & SIEM)
* Cyber Range (Vulnerable VMs for CTF practice)
> **Lab Startup**\
> pfSense is the gateway (router) and firewall for the lab. pfSense should always be the first VM that is booted when using the lab. If pfSense is not booted the machines in the lab will not be able to access the internet. Once pfSense is up other VMs can be launched.
### Requirements
#### System
* 64-bit multi-threaded CPU (minimum 4 cores) with Virtualization Support
* 16GB RAM
* 250GB Disk Space
#### Concepts
* Basic familiarity using VirtualBox (or other virtualization software)
* Basic understanding of networking concepts (NAT, DHCP, IP Address, LAN, Routing, Firewall, etc.)
* Familiarly with Linux and Windows (installing software, troubleshooting, etc.)
### Enabling Virtualization
To use VirtualBox our system has to support virtualization. On Windows to check if virtualization is enabled open Task Manager (**`Ctrl+Shift+Esc`**) and go to the Performance Tab. If like in the image below virtualization is shown as enabled then no changes need to be made
If virtualization is shown as disabled it means that the CPU supports virtualization but it is disabled in the BIOS. If Virtualization is not shown as an option it means that the CPU does not support virtualization.
If virtualization is shown as disabled we need to enable it in the BIOS. The process of getting to the BIOS varies from device to device. Refer to the device manual and online forums for device-specific instructions.
[Enabling Virtualization in your PC BIOS](https://bce.berkeley.edu/enabling-virtualization-in-your-pc-bios.html)
### Installing VirtualBox
#### Downloading VirtualBox
Go to the following URL: [Downloads – Oracle VM VirtualBox](https://www.virtualbox.org/wiki/Downloads)\
Download VirtualBox and VirtualBox Extension Pack.
As of the writing of this module, the latest version of VirtualBox is **`7.0.12`**
You will have a **`.exe`** and **`.vbox-extpack`** file after the download. Double-click the **`.exe`** file to start the installer.
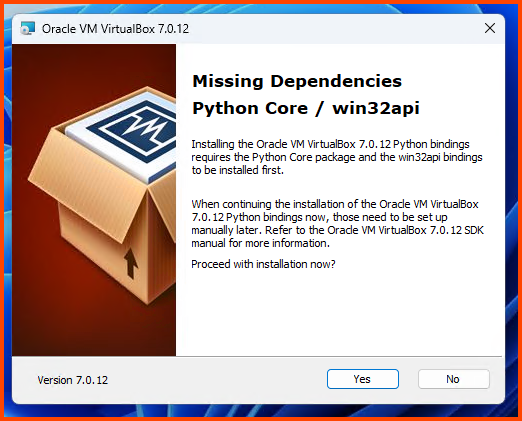
You might get the following error:
If you do not get the above error continue to the **`Installing VirtualBox`** section.
#### Downloading VC++ 2019 Redistributable
Close the installer and go to the following URL to download VC++ 2019 Redistributable.\
[Latest supported Visual C++ Redistributable downloads | Microsoft Learn](https://learn.microsoft.com/en-us/cpp/windows/latest-supported-vc-redist?view=msvc-170)
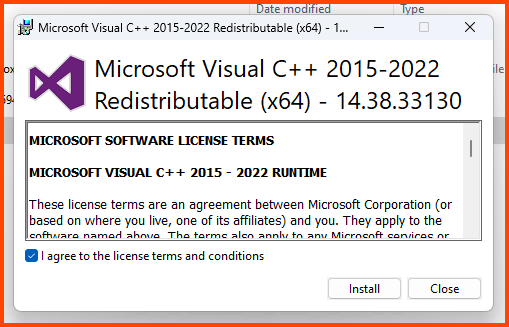
#### Installing VC++ 2019 Redistributable
The download will give us an **`.exe`** file. Double-click on it to launch the installer.
Accept the agreement and click on **`Install`**.
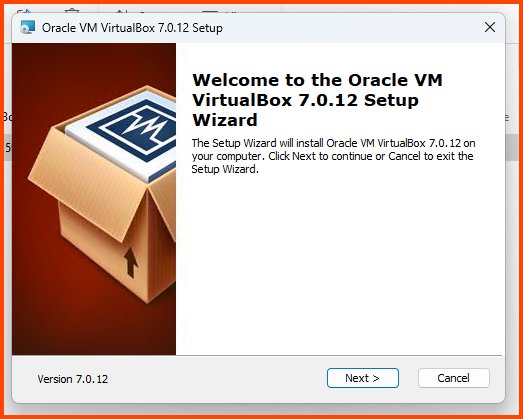
#### Installing VirtualBox
Click on the VirtualBox executable to start the setup. Click on **`Next`** to continue.
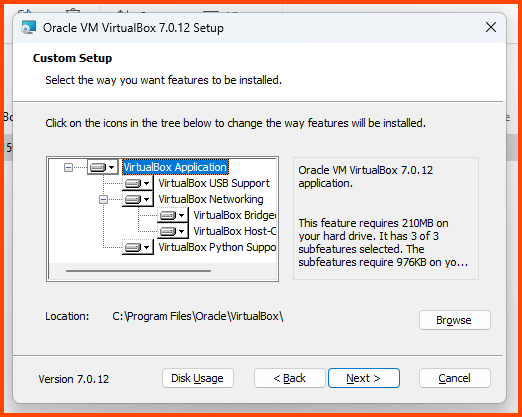
Leave all the settings on their default value and click on **`Next`**.
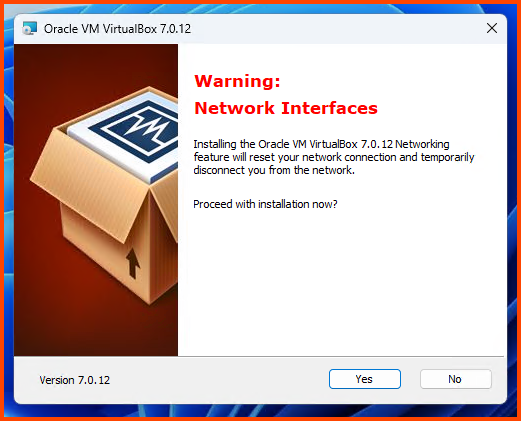
Click on **`Yes`**.
Click on **`Yes`**.
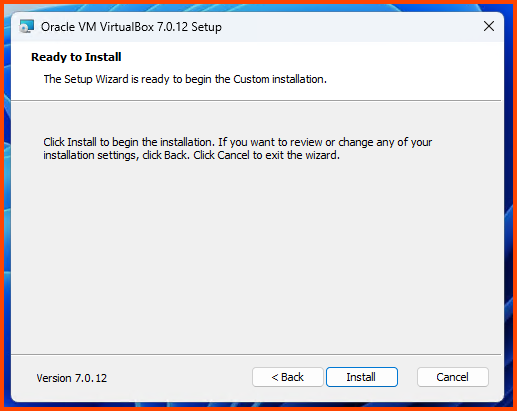
Click on **`Install`**.
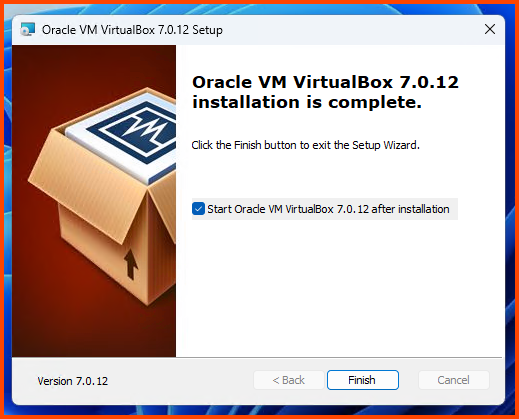
Click on **`Finish`** to close the installer and start VirtualBox.
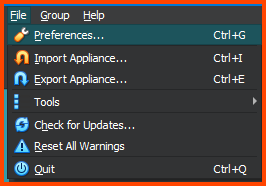
#### Installing Guest Additions
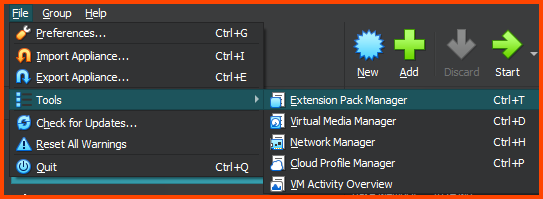
From the File Menu bar select: **`File -> Tools -> Extension Pack Manager`**
On the Extension Manager page click on **`Install`**.
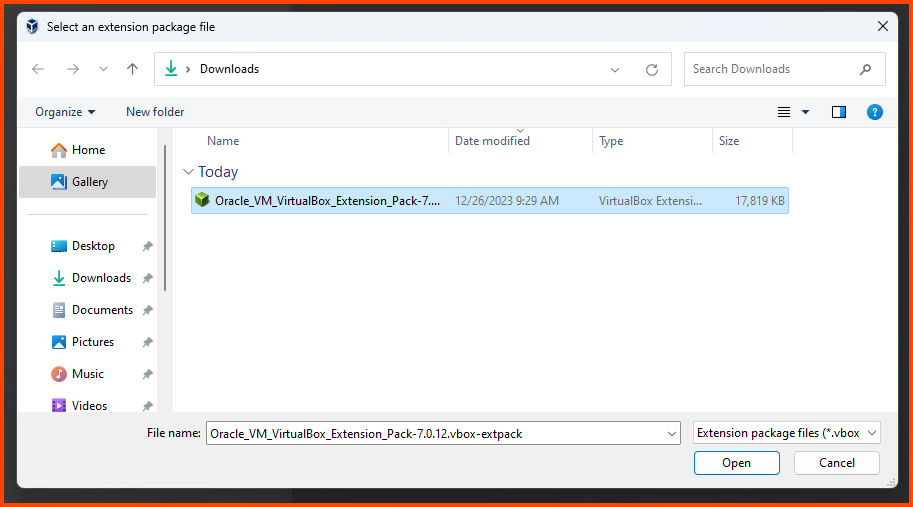
Select the **`.vbox-extpack`** file that we downloaded. Click on **`Open`**.
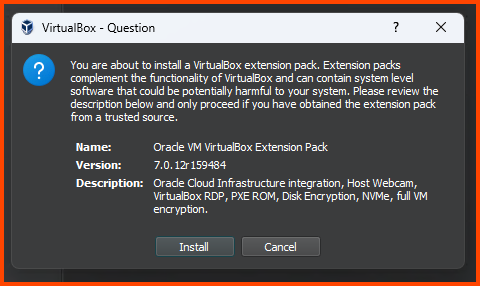
Click on **`Install`** to confirm the selection.
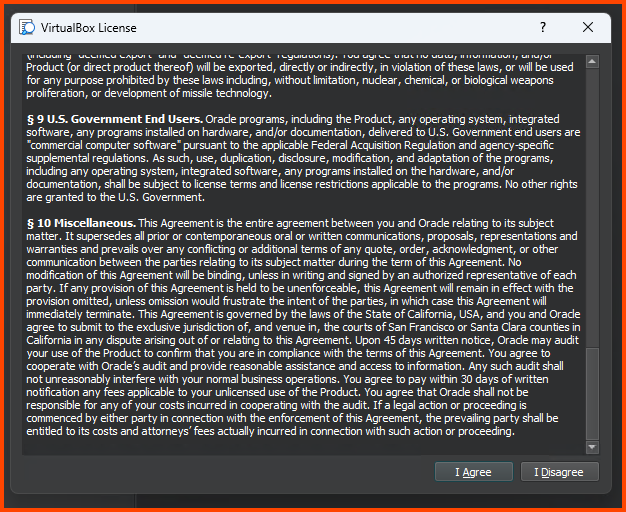
Scroll to the bottom of the License and click on **`I Agree`**.
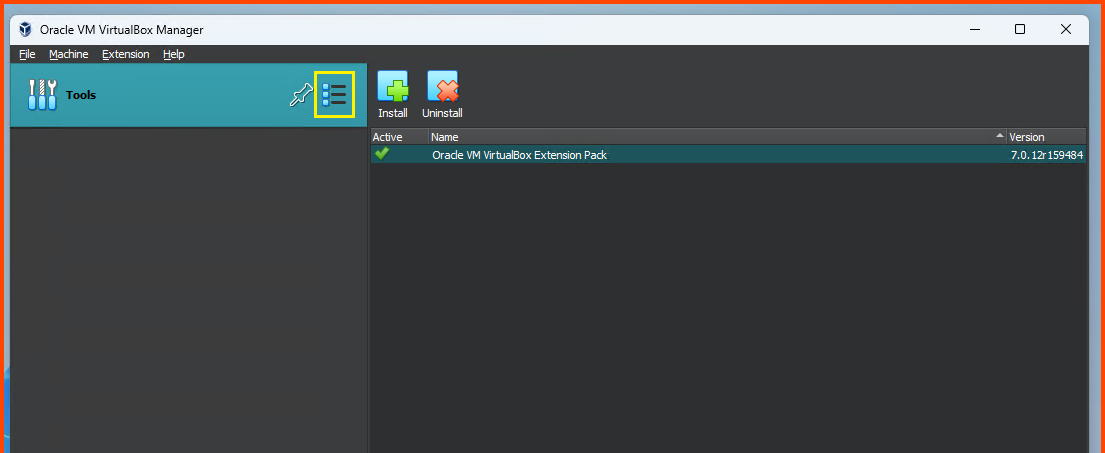
Once the installation is complete click on the Hamburger icon on the right-side of **`Tools`** and select **`Welcome`**.
#### Changing VM Storage Location
This step is not necessary but recommended on devices that have multiple drives.
On my laptop the primary drive (`C:\`) only has 200GB of free space which will completely get filled by the end of the project. My secondary drive (`E:\`) on the other hand has 1TB of free space. In order to not fill-up my primary drive I have changed the machine folder to a folder on my secondary drive.
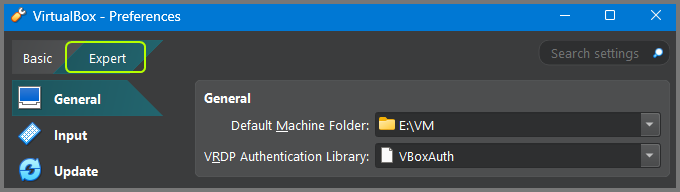
From The File Menu bar select: **`File -> Preferences`**.
> **UI Changes**\
> With the release of v7.1, Oracle has given Virtual Box GUI a makeover. Make sure to select “Expert” mode by using the toggle at the top left corner. Once in Expert mode all the options will be identical to the options found in the previous versions of Virtual Box.
From the **`General`** tab change the value of Default Machine Folder to change the default storage location of the VMs.
In the next module, we will start with the installation and configuration of pfSense.
---
# Agent Instructions: Querying This Documentation
If you need additional information that is not directly available in this page, you can query the documentation dynamically by asking a question.
Perform an HTTP GET request on the current page URL with the `ask` query parameter:
```
GET https://foothold.gitbook.io/blog/home-lab/quickstart.md?ask=
```
The question should be specific, self-contained, and written in natural language.
The response will contain a direct answer to the question and relevant excerpts and sources from the documentation.
Use this mechanism when the answer is not explicitly present in the current page, you need clarification or additional context, or you want to retrieve related documentation sections.